Printing on tissue
by Paul Bradley
Tissue paper is the preferred covering material for many light
weight model airplanes. Prior to the availability of computer driven ink jet
printers, modelers using tissue covering had to rely on a variety of methods to
add color and markings. This consisted of using different colors of tissue,
marking pens, ruling pens, and other techniques for applying color and details
to a model's covering.
When ink jet printers started becoming available for prices the
modeler could afford, it did not take long for people to realize that ink jet
printers and light weight tissue paper were made for each other. Using an ink
jet printer it is possible to add just about any color, color combination, and
marking detail to a sheet of tissue with no weight gain. My use of the ink jet
printer to apply color and markings to plain white tissue paper began around
1992. I have been using the process ever since to add eye appealing color and
trim to my models.
This short pictorial article describes the process I use for printing
color and markings directly on light weight tissue paper using an ink jet printer.
It is surprisingly easy and any ink jet printer can be used. The resulting
tissue can be used on light weight indoor models, outdoor models where weight is
an issue, and even on heavier radio control models. In the latter case the ink
jet tissue is applied over a film underlayment using clear dope. Want to give it a try? ... I hope so.
What do you need? There are two basic requirements for
printing on tissue paper. First is an ink jet printer. I am not aware of any on
the market today that will not work for this application. Some printers feature
a straight through paper path. These work especially well for printing on
tissue, but that feature is not required. The second
thing you need is some graphics software to develop your artwork. Just about any
program that will let you draw will work fine. I prefer software that uses
vector graphics so they can be scaled without any loss of resolution. Programs
that draw using bit maps can also be used very effectively.
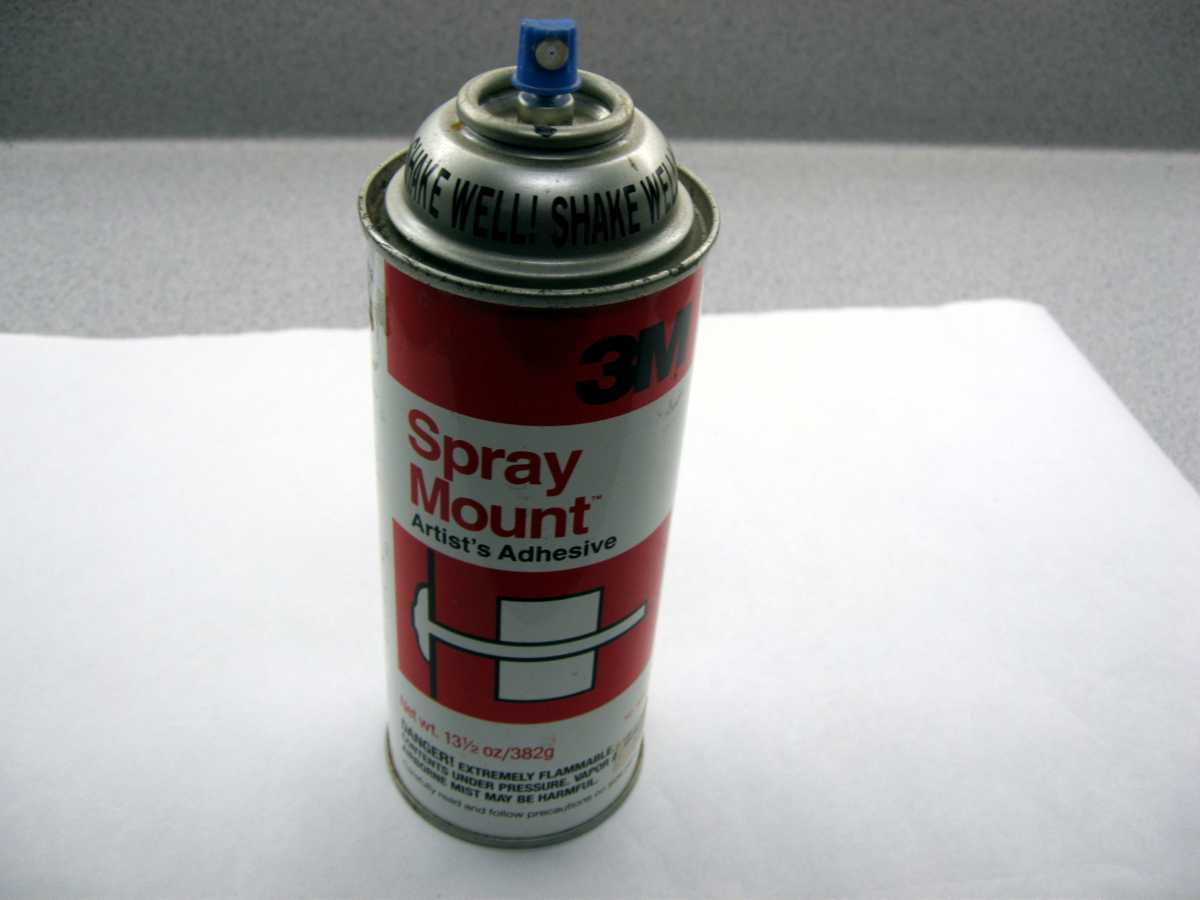
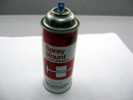
In addition to an inkjet printer and supporting graphics
software, you will also need a can of spray adhesive. My recommendation is 3M
Spray Mount, or 3M Photo Mount. Along with the spray adhesive, you will need a
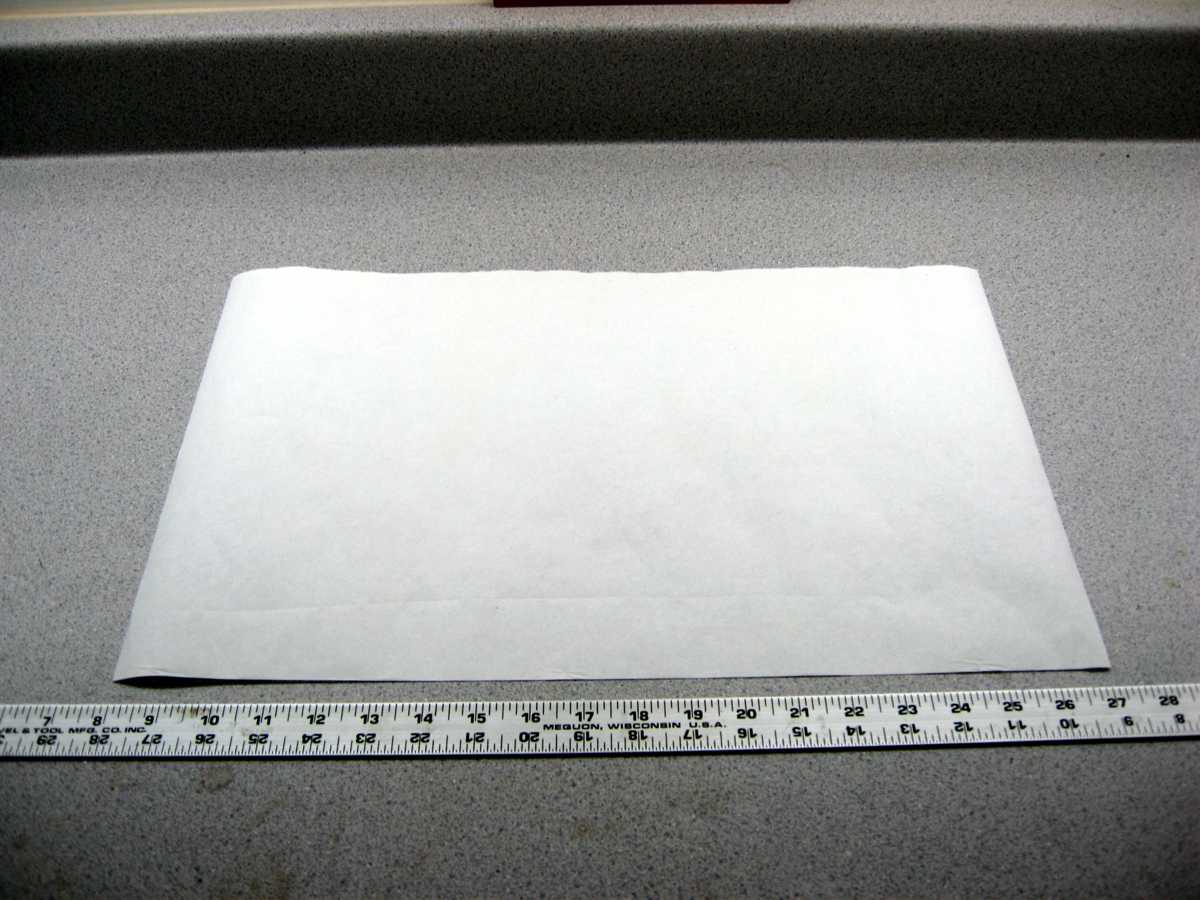
sheet of printer paper to serve as a backing sheet. This piece of paper will
need to be the same size as the piece of tissue you will be using for printing.
The process. The photos that follow will take you through
the steps. Basically, the process is create your artwork, prepare the
tissue for printing, and then print
the tissue sheet. Here are the more detailed steps.
 |
 |
 |
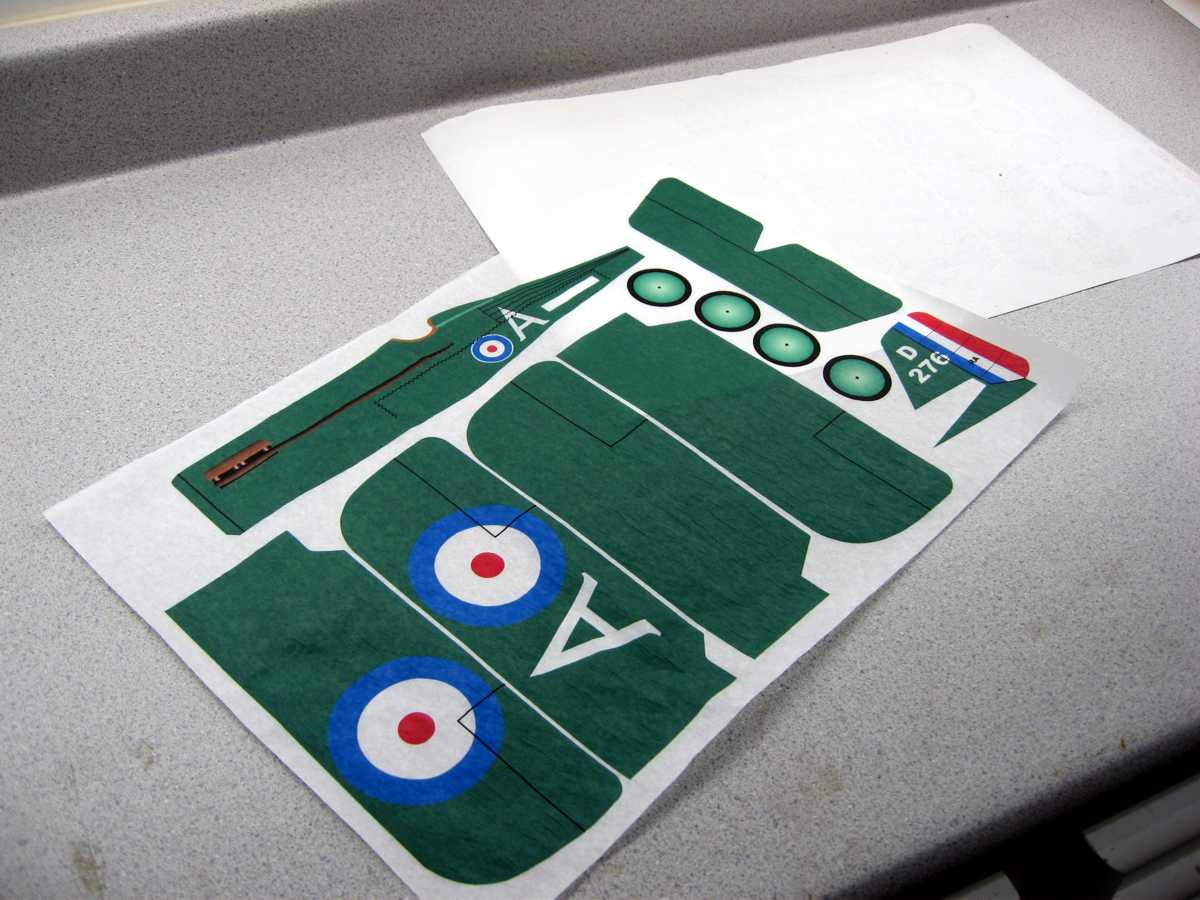
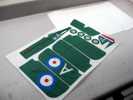
| Begin by creating your artwork. The example shown here has
been developed using CorelDraw. The printer I am using supports printing
on sheets 13 inches by 19 inches. The drawing shown was set up to print
on a sheet 12 inches by 18 inches. |
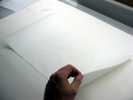
Begin by preparing a backing sheet for the tissue. Use a
piece of paper that is the same size as the tissue sheet to be printed.
If your printer supports banner printing, or custom sizes that will let
you print long sheets you can use that capability to print panels the
length of a full tissue sheet. |
Apply a light coat of spray adhesive to the backing sheet.
Use an adhesive that will let you reposition a piece after being placed
on the adhesive. I have found that 3M Spray Mount works very well for
this application. An alternative is 3M Photo Mount, but be careful on
the amount used. It is more permanent. |
 |
 |
 |
| After applying the spray adhesive, stick the backing sheet
to a piece of cardboard. Peel off the backing sheet. Repeat that process
for 3 or 4 times. This will reduce the tack of the adhesive. |
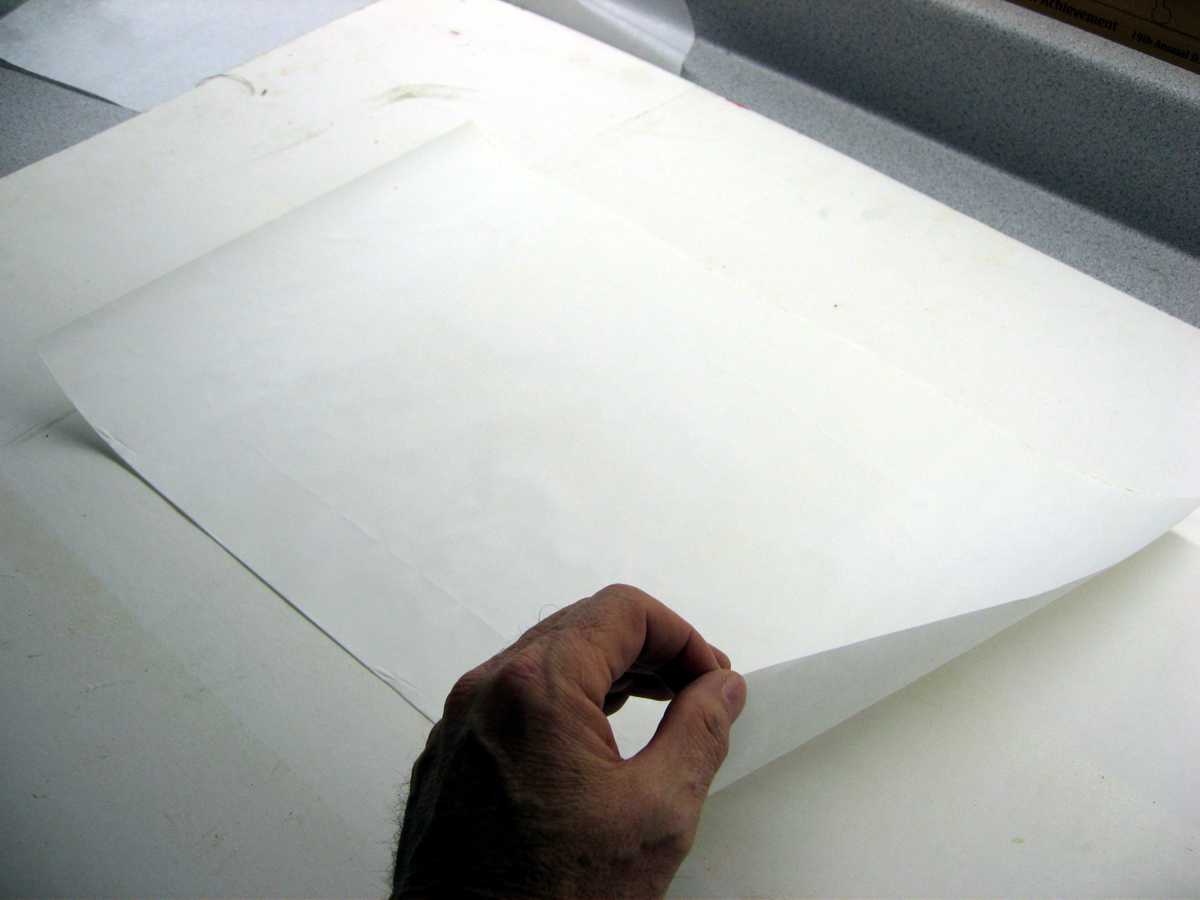
Now apply the tissue to the backing sheet. Smooth out any
wrinkles that may develop. I typically use the heavier grade of tissue
known as art tissue or shoe box tissue. This tissue has a denser white
and produces good color. The nice very light grades of tissue also work
quite well. |
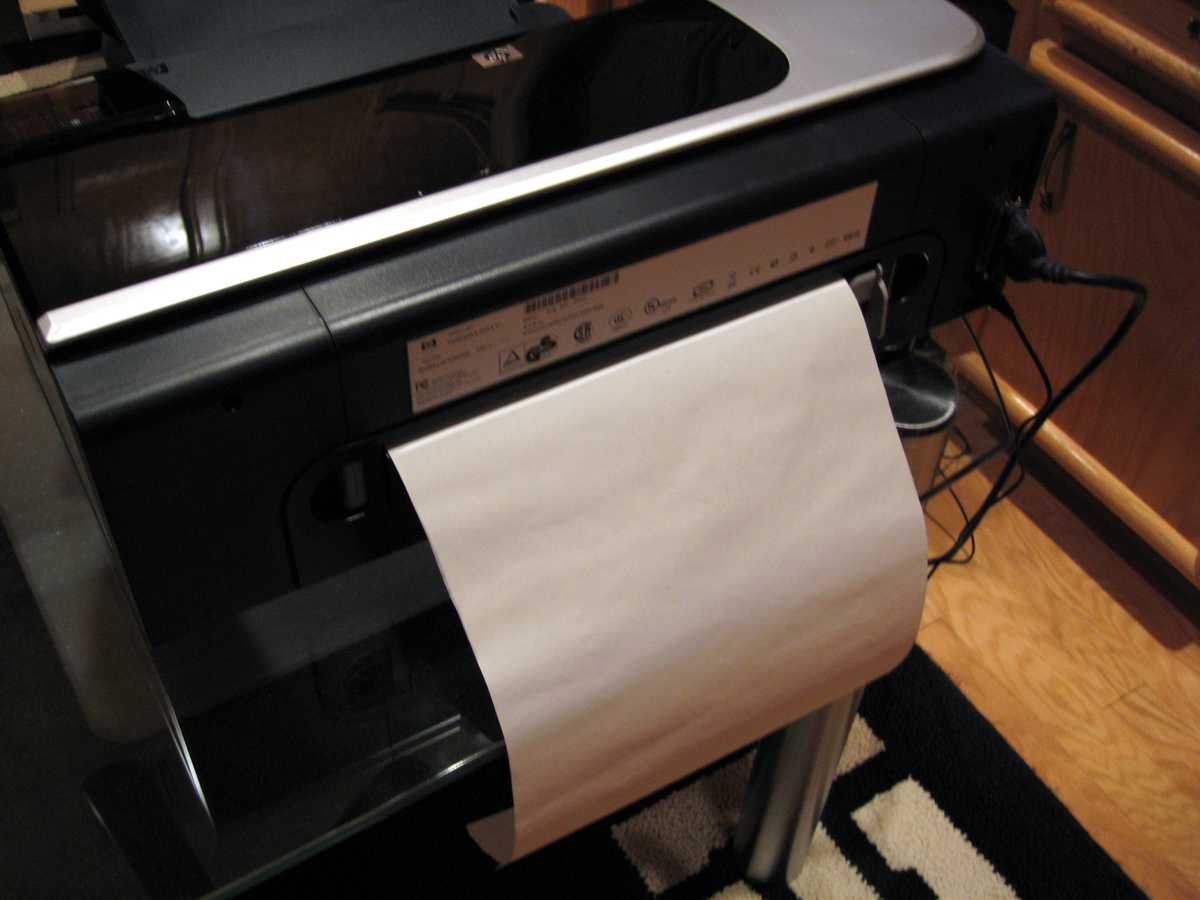
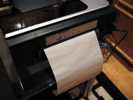
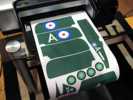
Once the tissue has been applied to the backing sheet, it
is ready for printing. Place the tissue/backing sheet in the printer so
the tissue will be the printed side. Shown here is an HP Model K850
printer. It supports a straight through paper path, and the
tissue/backing sheet has been placed in that feed opening. |
 |
 |
 |
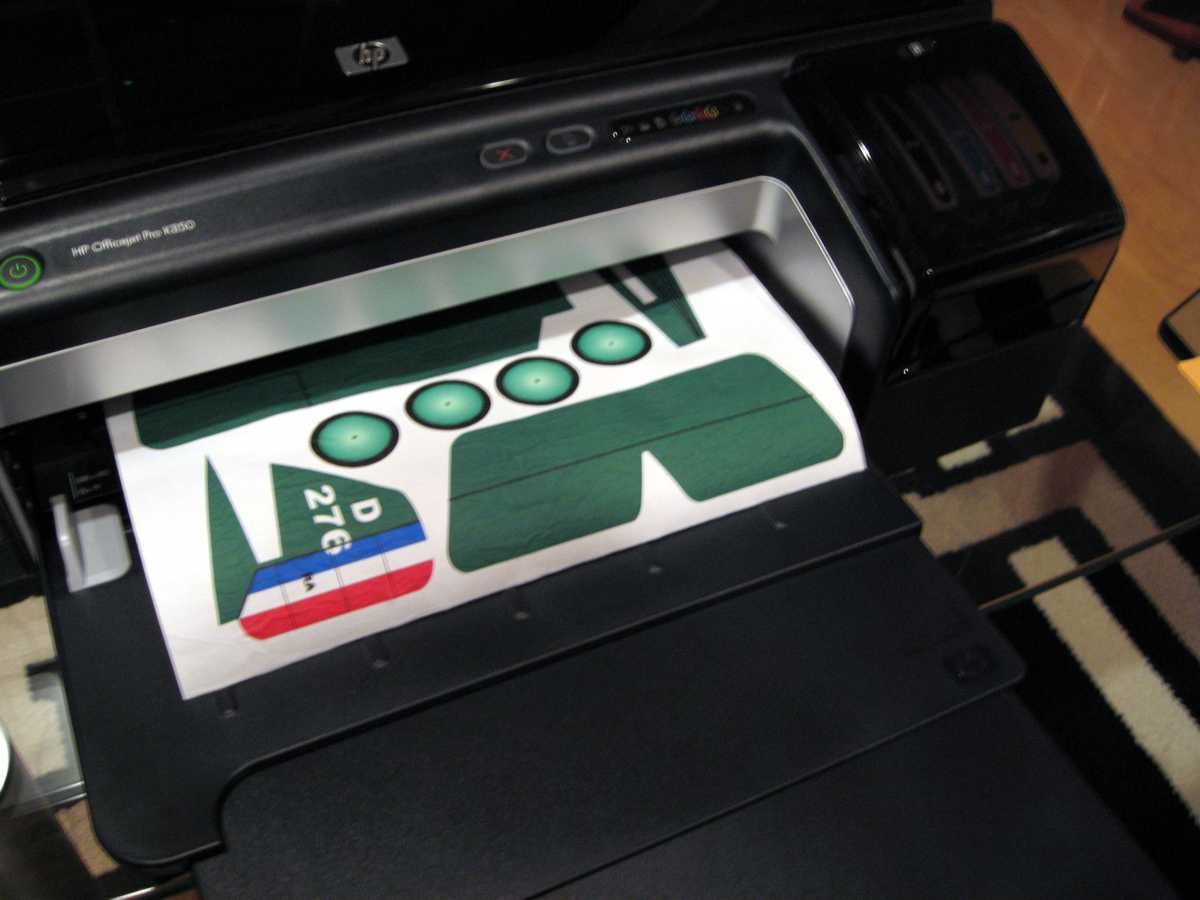
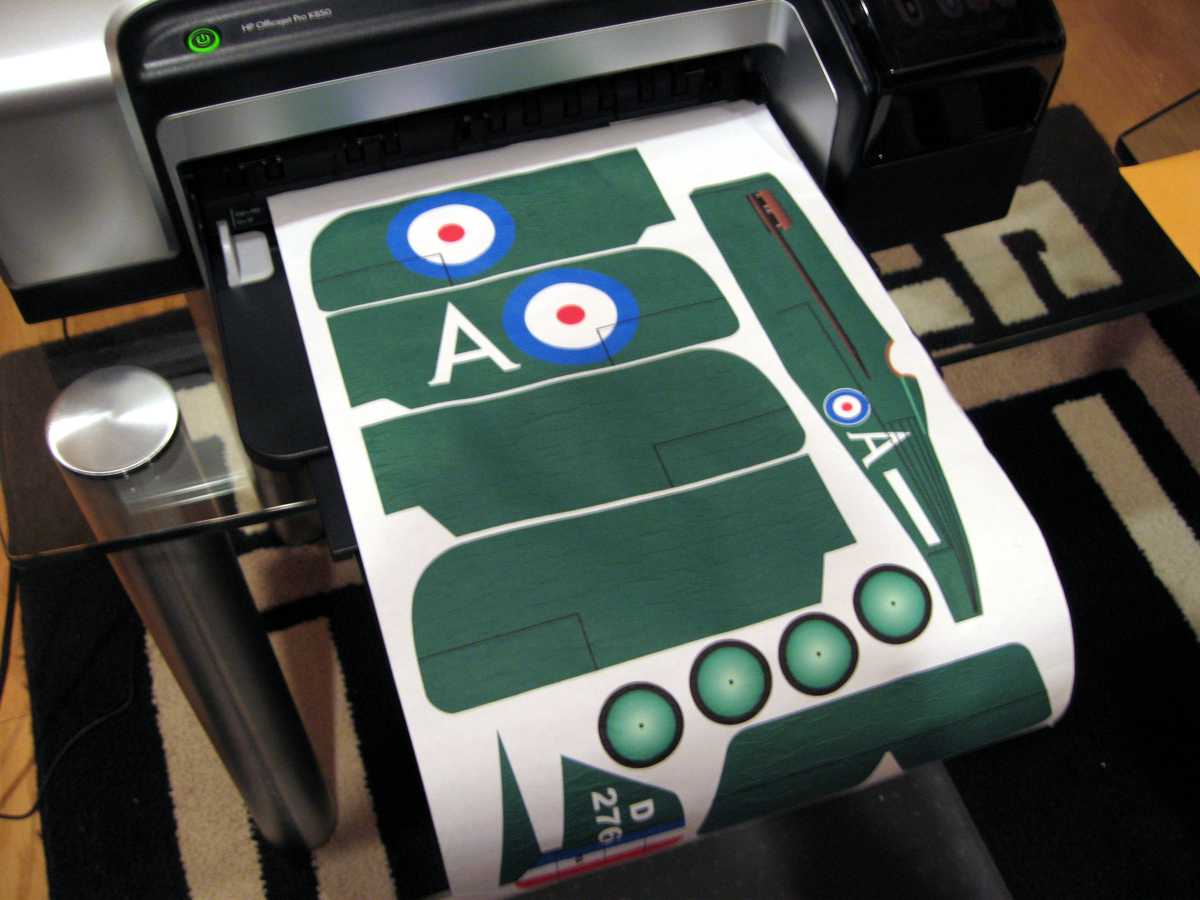
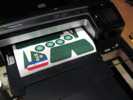
| After the tissue/backing sheet is in the printer you can
start printing your graphics. You might want to make some test pieces to
see how well your printer handles adjacent colors. It may be necessary
to reduce the amount of ink being applied to minimize any color
bleeding. I have found that draft, or economy modes work best. Some
printers will also do well on the normal mode. This latter mode applies
more ink for bolder color. |
As the tissue sheet is being printed it may tend to pucker
as it becomes wet from the ink. This is not a problem. Be sure to let
the ink dry before handling the sheet. |
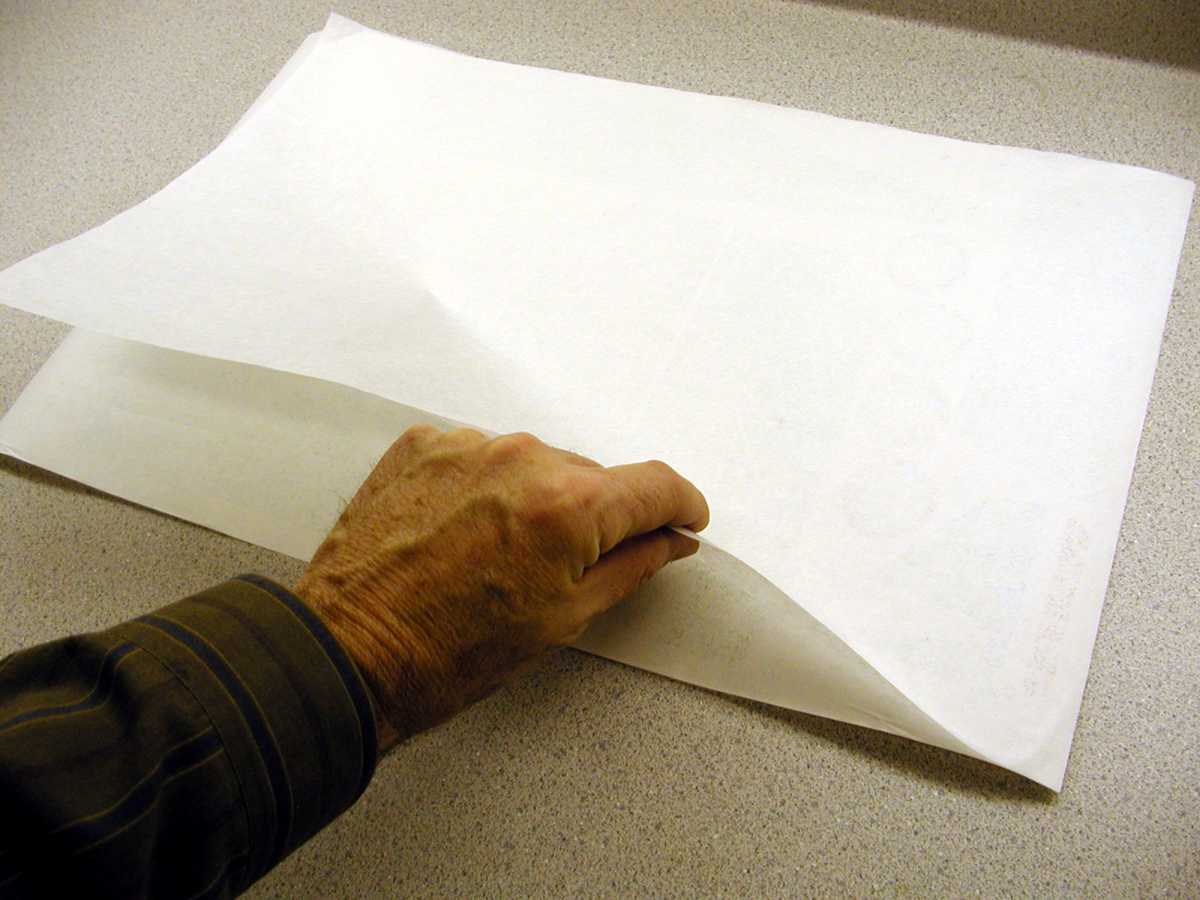
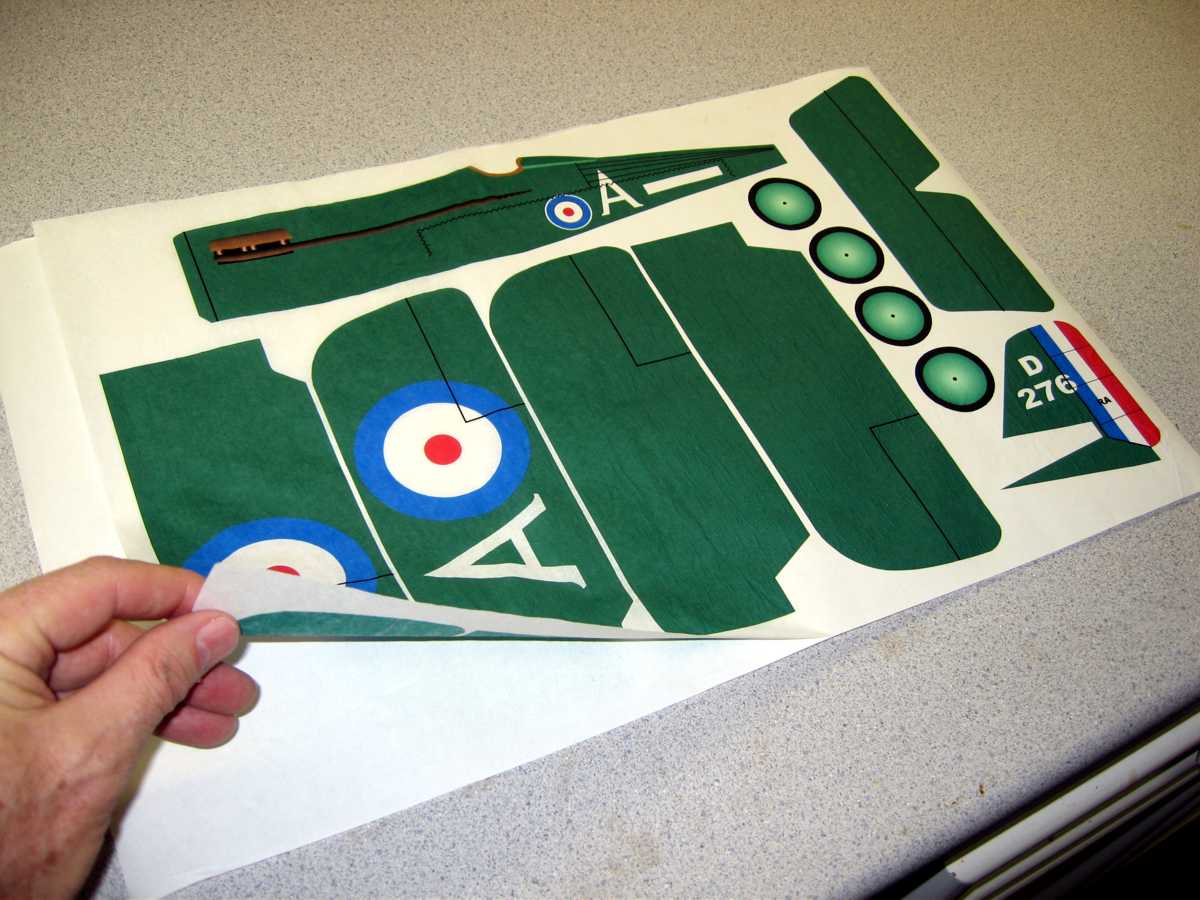
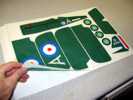
Once the ink has dried, the tissue sheet can be removed
from the backing sheet. This should not be difficult. Be careful as you
remove the tissue to minimize the chance of tearing the sheet. |
 |
 |
| Most ink jet printers do not use water proof ink. This can
be a problem if the tissue needs to be water shrunk, or if the model
will be exposed to moisture. There are several ways a completed sheet
can be treated for water resistance.
The first method is to make up a solution of very thin clear dope. A
mixture of 1 part dope to 9 parts thinner will work nicely. You can
apply this to the tissue before or after covering a model. I like to do
it after the model is covered. After the thin dope is applied and dry,
the tissue will be sealed. You can then water shrink. Just be careful
not to develop puddles of water. Keep the water mist fine. The tissue
will shrink normally. Regular finishing coats of clear dope can then be
applied to complete the finish.
For models that will have the tissue applied to a solid surface, such
as balsa or a film underlayment, you can seal the tissue after it is
applied. Clear dope works well for this as do Krylon clear sprays.
Krylon Fixtatif or Krylon Crystal Clear work very nicely for sealing and
finishing ink jet printed tissue. |
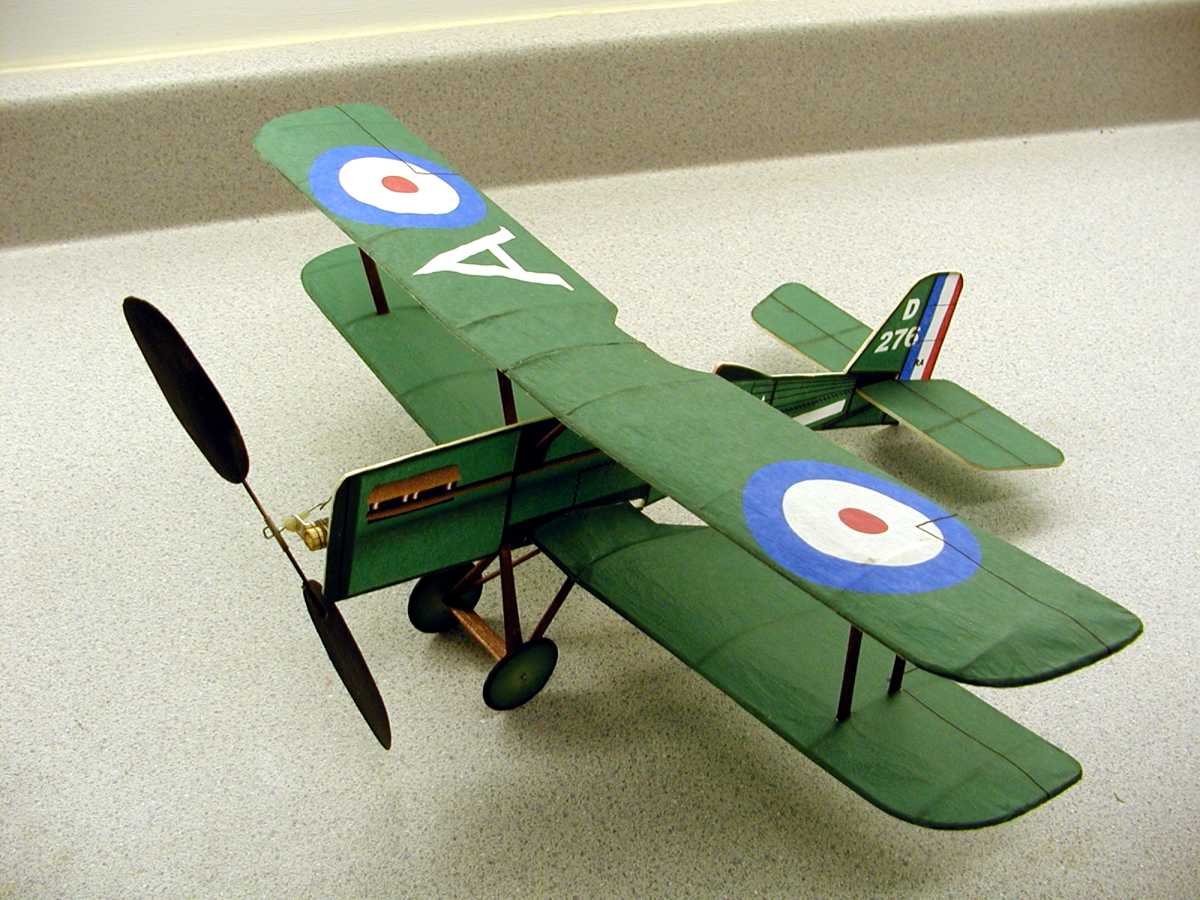
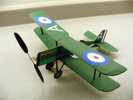
Here is the completed model sporting the ink jet printed
tissue. This model is a No-Cal (reference to no calories due to the
profile fuselage) British WWI SE-5a built to the Flying Aces Club (FAC)
rules. The plan for this model can be found in the downloadable plans
section of the web site. As you can see, even a simple model like this
No-Cal SE-5a can be nicely dressed up by using ink jet printed tissue
paper. |
In summary, it is possible to develop some very colorful and detailed models
by using a computer driven ink jet printer to print color and markings on sheets
of light weight tissue paper. With a little imagination, and some white tissue
paper sheets you
can create some very eye catching models.... with no weight penalty for the
color and markings. If you have questions or thoughts on the process please feel free to
contact me at bradleyp@ix.netcom.com
Home