Transferring Parts Using Iron-On Transfer
Paper
by Paul Bradley
When it comes to indoor and micro models, weight is everything.
We all love a nice looking model, but as the size begins to shrink the finish is
often sacrificed in the name of saving weight. If you happen to use balsa for
your your indoor and micro creations, I have a solution to the color and
markings weight problem. Thanks to the technology of computers and ink jet
printers we can create some nice looking models with very little weight gain.
This short pictorial article describes a process for
transferring full color parts or parts with fine crisp lines to balsa using an ink jet printer. You can create
your killer design and then transfer accurate parts the balsa sheets that you will be
using to build the model. While your at it, you can add some color and markings
to dress up the finished model. One of the best parts is the color and markings
are applied before the model is even built, so you have something nice to look
at while that special bird takes shape. Want to give it a try? ... I hope so.
What do you need? A printer that can print on letter size
sheets of paper. That covers all but the specialty photo printers. The latter
can actually be used but you will be limited to smaller print images. You will
also need a package of iron-on transfer paper. This is typically sold for
creating your own T-shirt images. Many stores that sell computer supplies carry
iron-on transfer paper. It is also available from on-line dealers. Buy the type
intended for light fabrics. Also, if the product being sold by your retailer
specifies "Hot Peel" or "Cold Peel" select the hot peel variety. If no such
specification is given on the package it will be the hot peel material.
The process. The photos that follow will take you through
the steps. Basically, the process is create your artwork and then print
the balsa sheets. Here are the more detailed steps.
 |
 |
 |
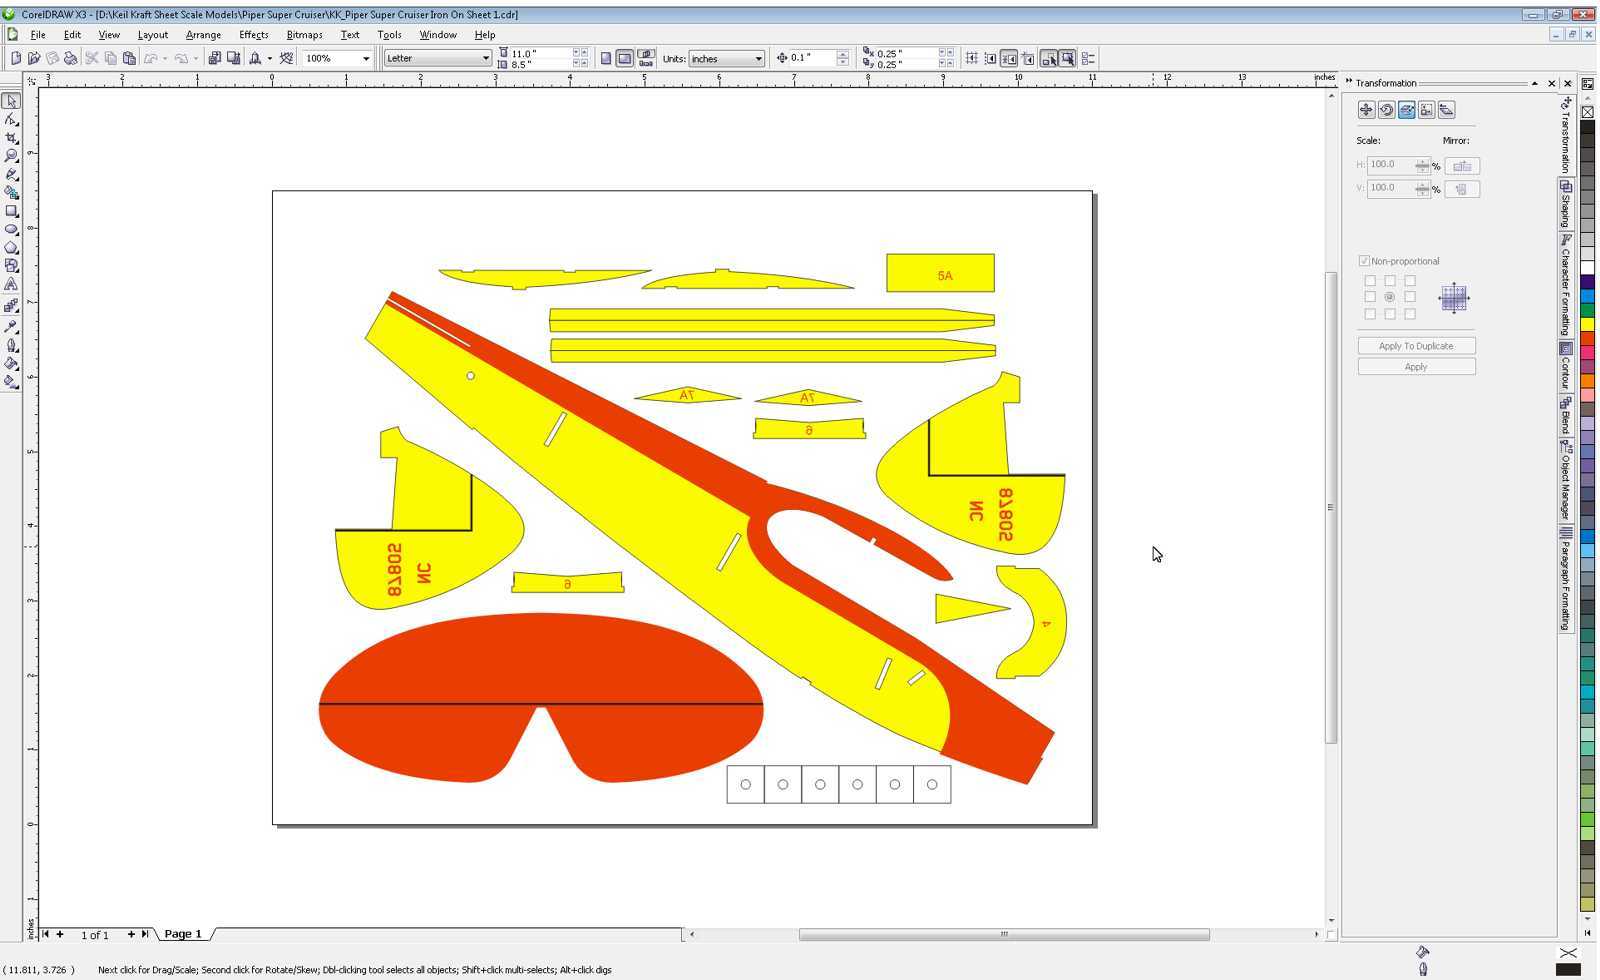
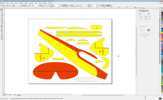
| Begin by creating your artwork. The example shown hear has
been developed using CorelDraw. Most iron-on transfer paper is letter
size so set up your artwork to fit that size. If your image will not fit
a letter size sheet of paper, no problem. Just break it into parts. The
parts can be tapped together later when the image is transferred to the
balsa sheet. The artwork will need to be printed as a mirror image. It
is best to create the mirror image using your artwork software. If that
is not practical, many printers will print a mirror image of the
original as an option. |
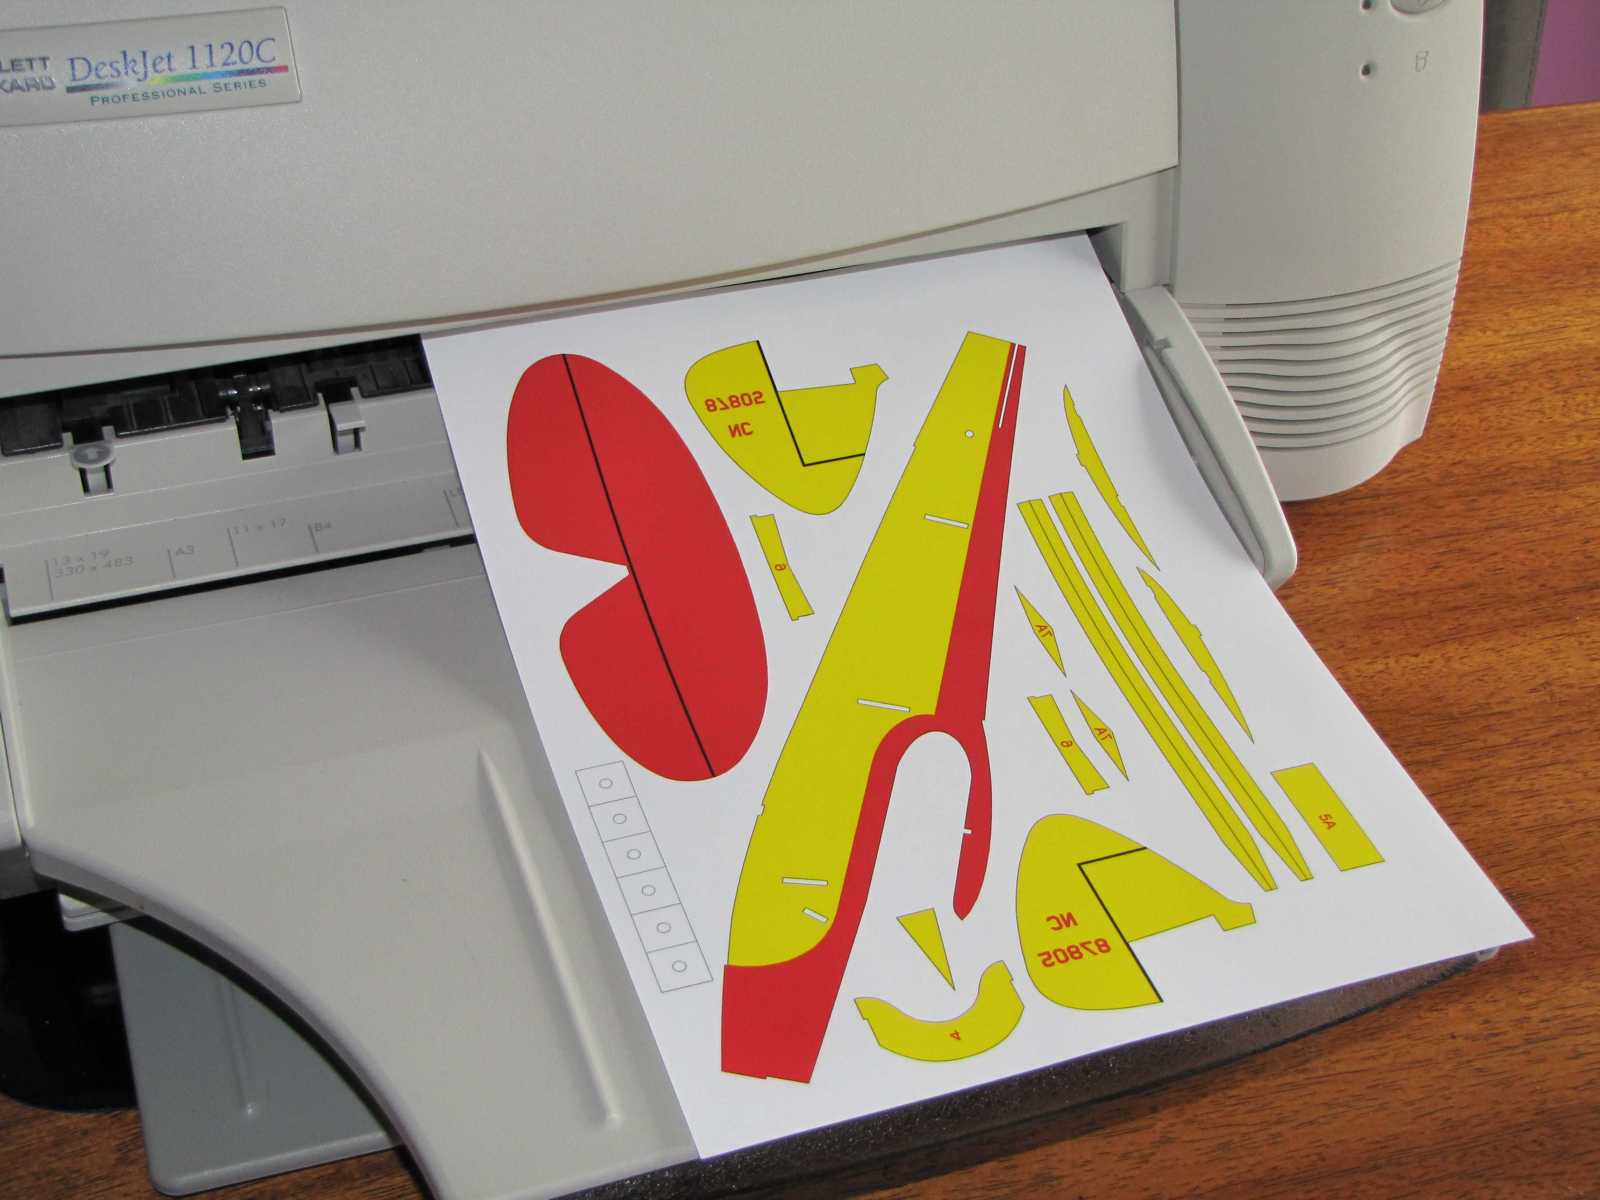
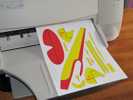
Print the artwork on a sheet of your iron-on transfer
paper. This will normally be a letter size sheet. Letter size in the
U.S. is 8.5 inches by 11 inches. Make sure you print on the adhesive
side of the sheet. For most printers that will mean placing the paper
with the adhesive side down in your paper tray. |
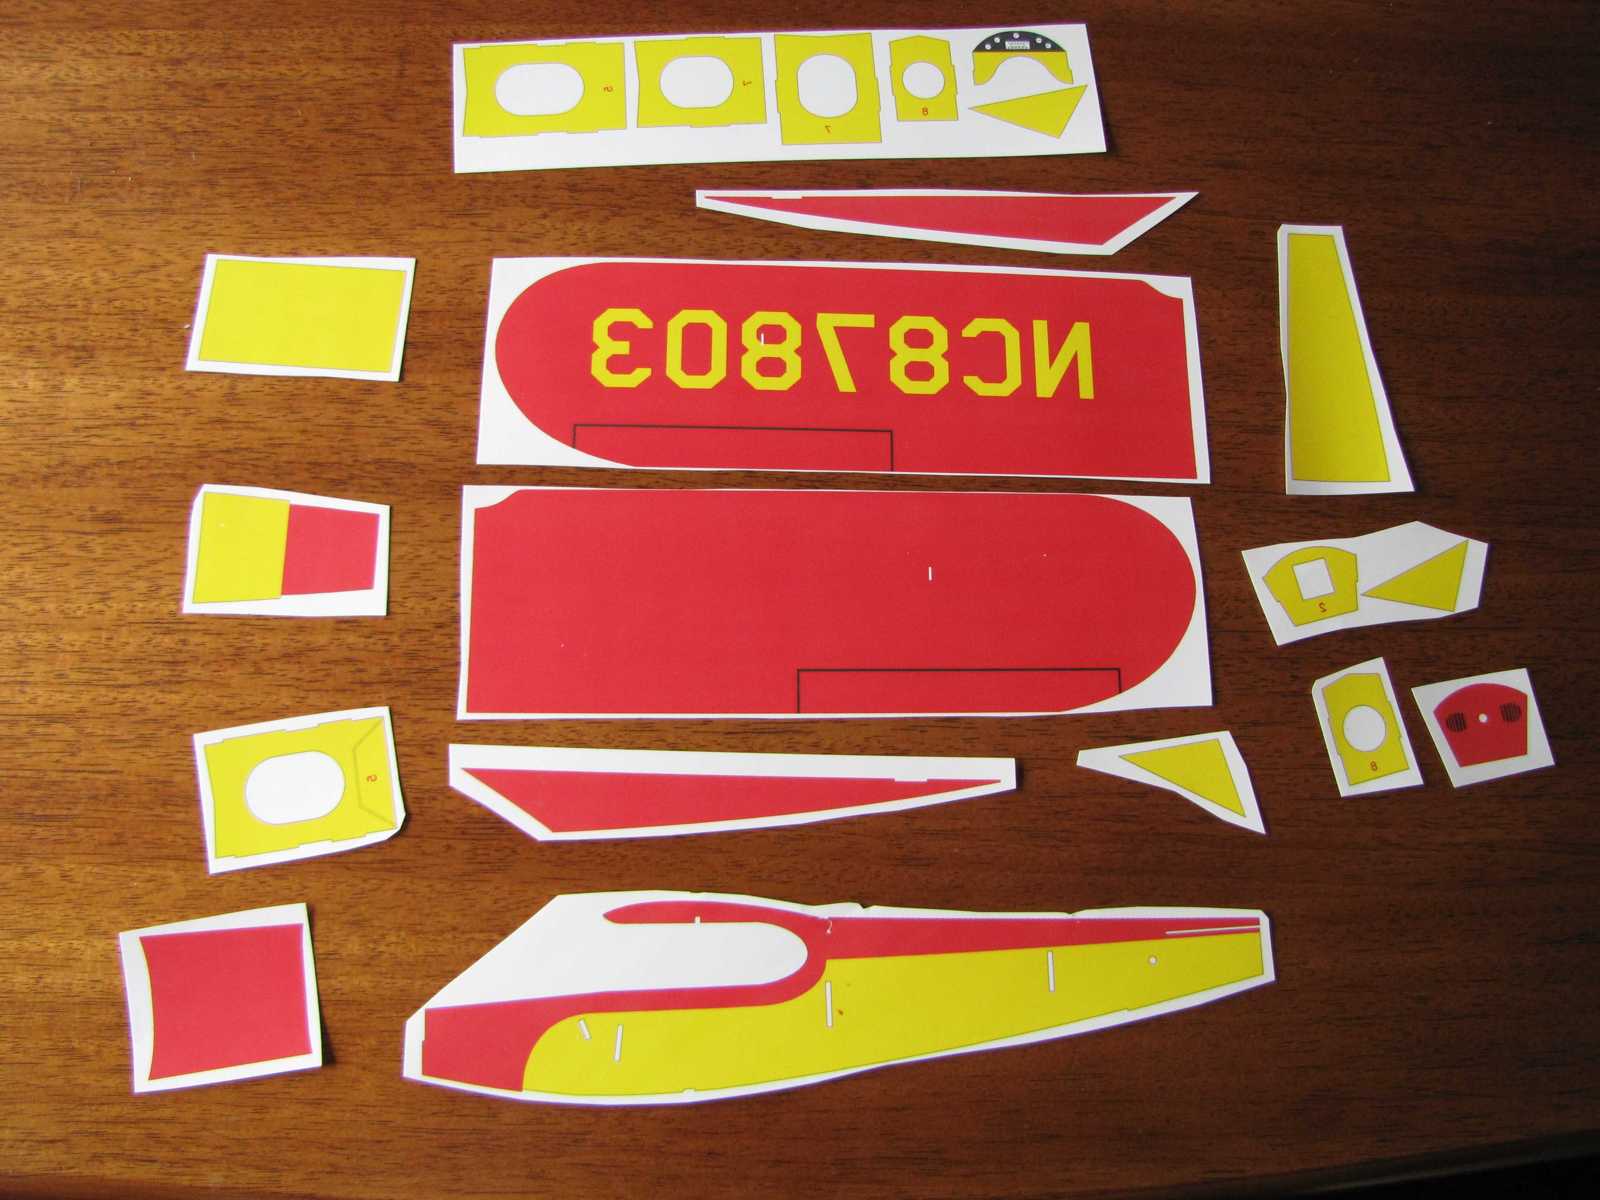
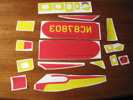
Depending on how you laid out your artwork to fit a letter
size sheet, it may be necessary to cut the individual parts from the
printed transfer paper. The parts do not need to be cut on the lines,
just separated from the sheet of paper. If you had to break a part into
sections, the sections can now be tapped together in preparation for
transfer to the balsa sheet. |
 |
 |
 |
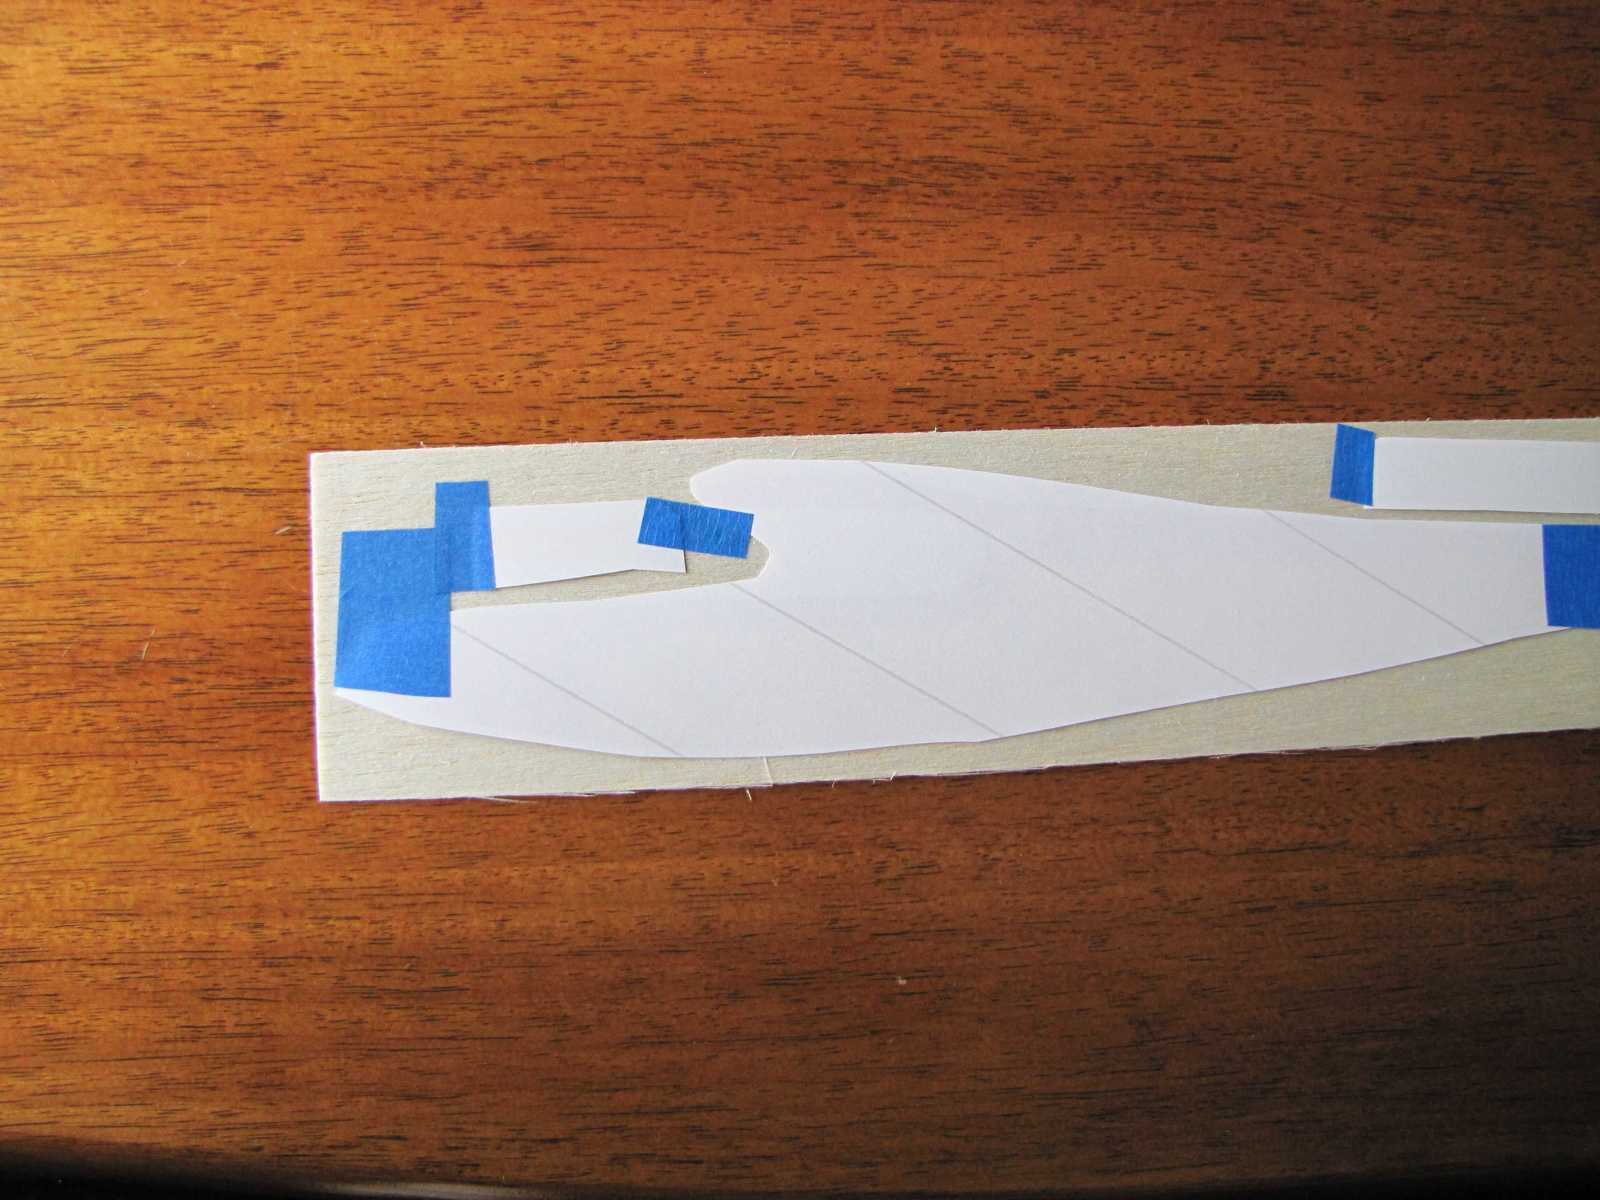
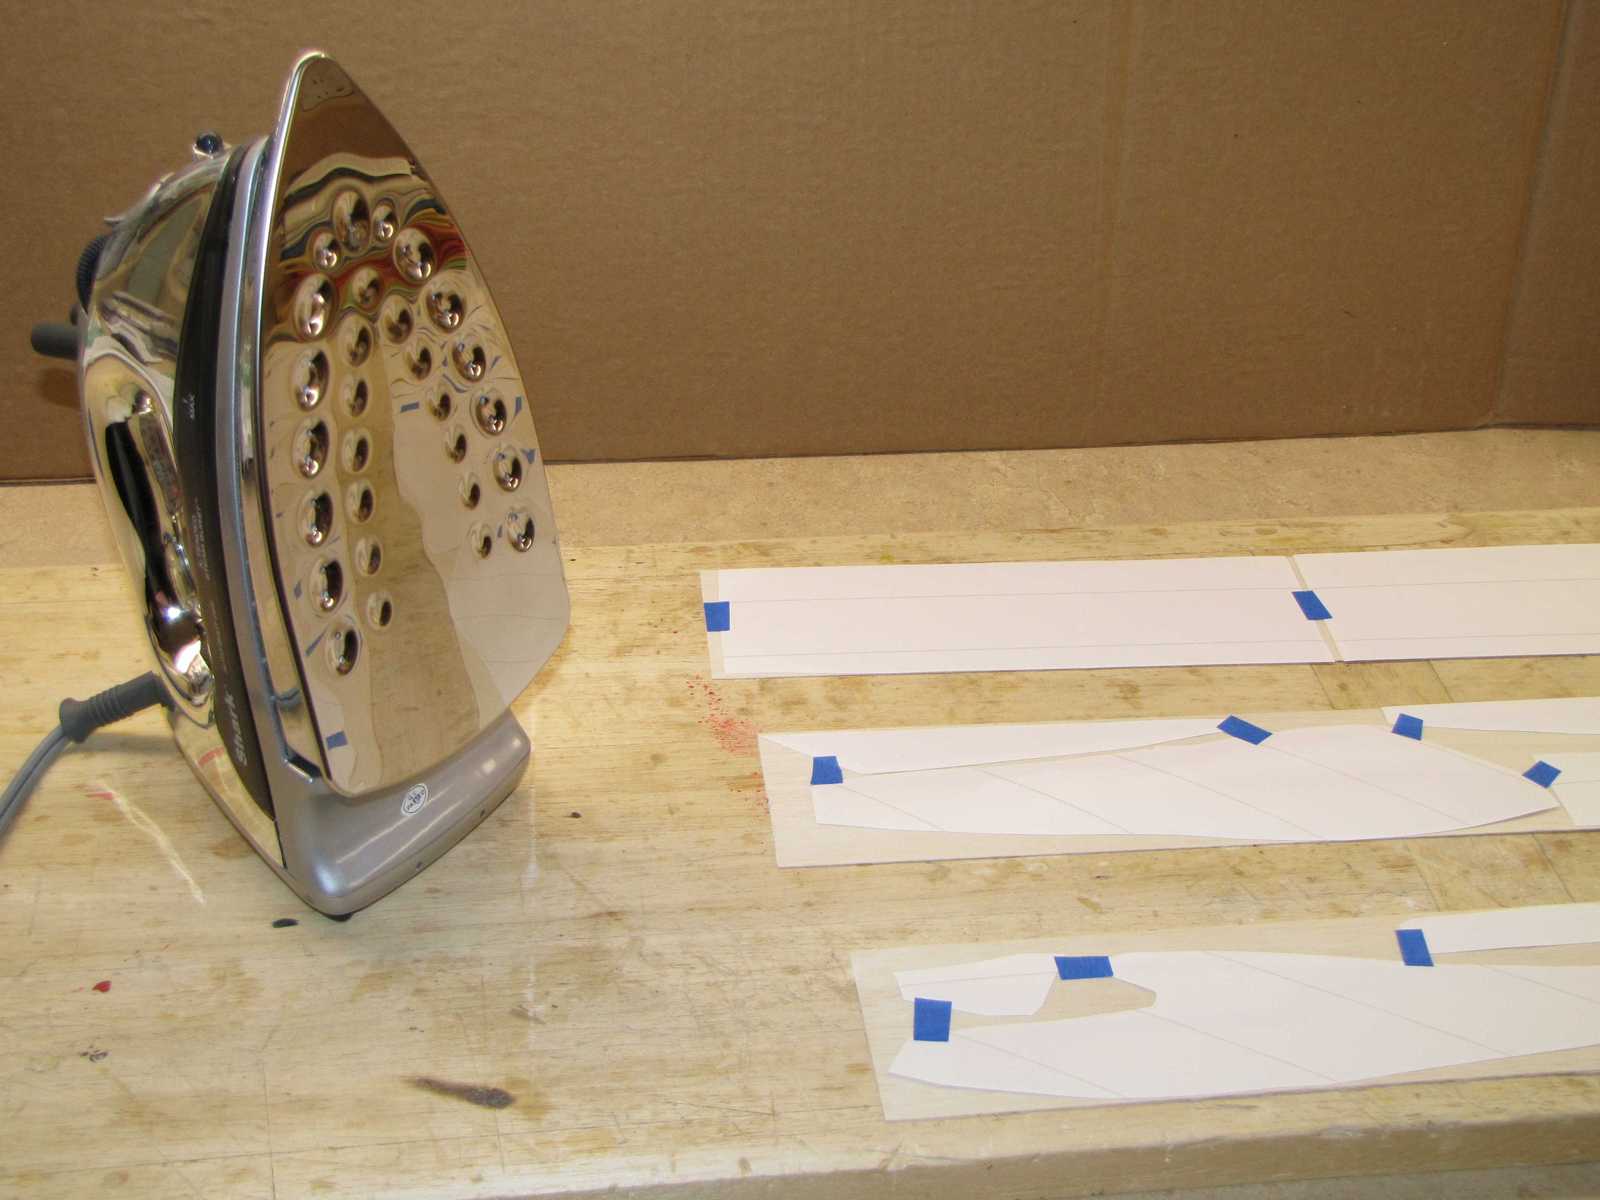
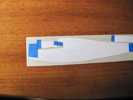
| Place the printed parts on your sheet of balsa. Any
thickness balsa sheet can be used. The example shown is 1/32" balsa
sheet. Some tape may be useful in keeping them in position. It is
important that the transfer paper not move while it is being ironed or
the parts will blur. |
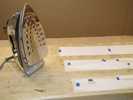
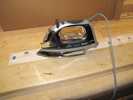
Follow the directions for your specific iron-on transfer
paper regarding the iron temperature setting and length of time needed
for the iron to accomplish the transfer. Typically the highest
temperature setting is used and you will need to leave the iron on the
transfer paper for at least 30 seconds. |
Place the iron on a section of the transfer paper parts.
Depending on how you have laid out the transfer paper parts on your
balsa sheet it may be necessary to move the iron several times before
all of the images are transferred from the paper to the balsa. |
 |
 |
 |
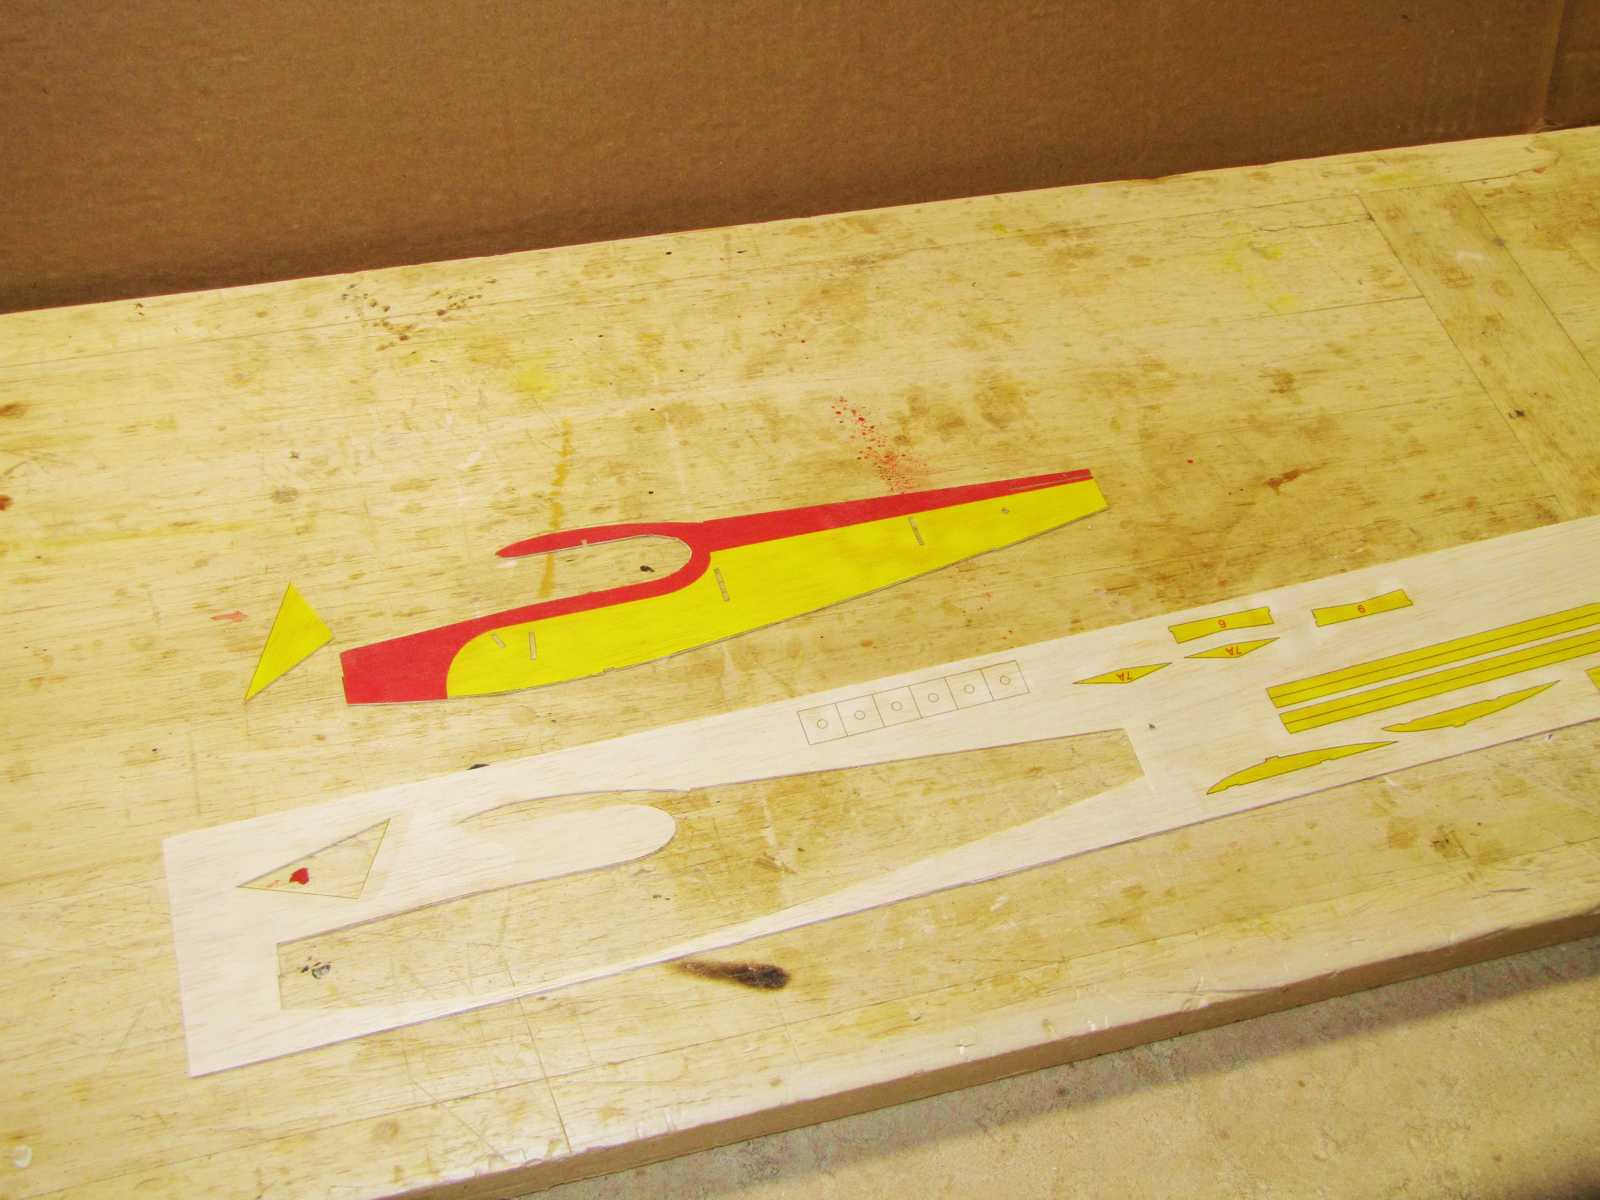
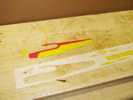
| Let the transfer paper cool and then remove the backing
sheet. You will be left with the printed image firmly attached to your
balsa sheet. You will see the transfer adhesive around the printed
image. This adhesive seals the ink so it will be water proof. |
Cut out the parts in preparation for assembly of your
model. Once all the parts have been cut out you will have a nice kit to
assemble. |
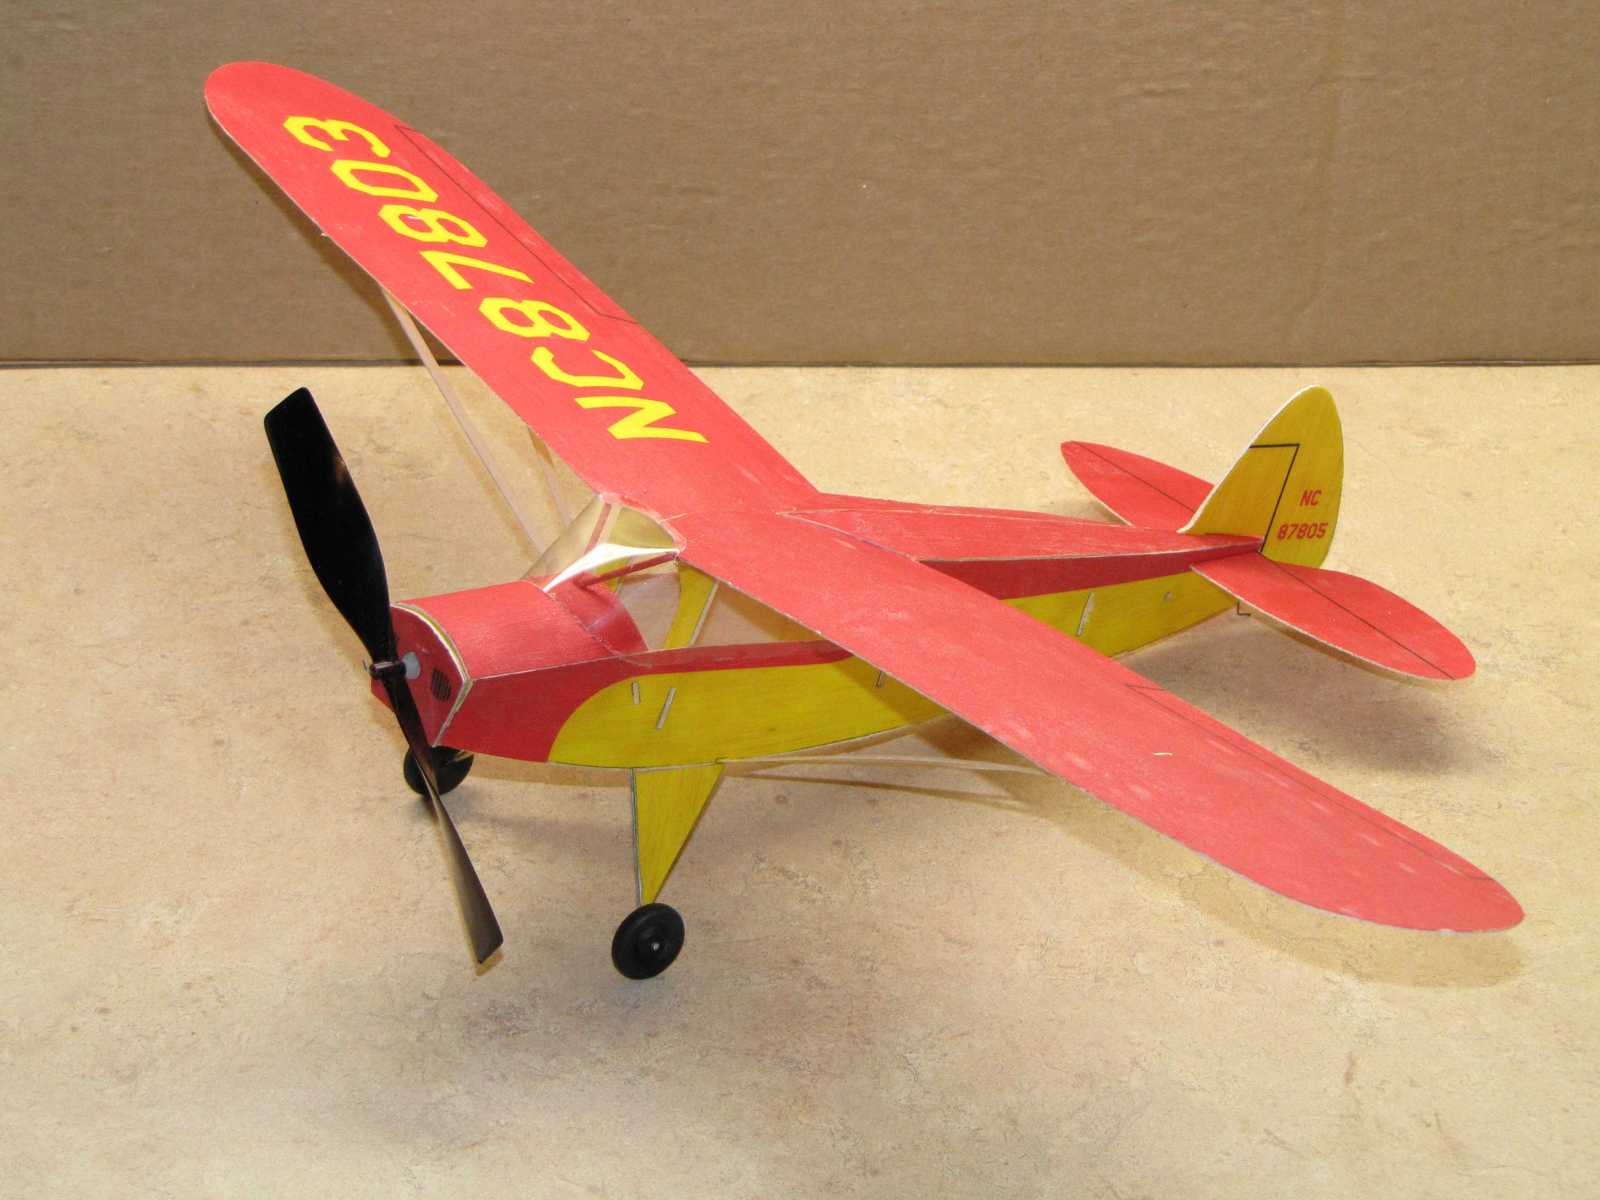
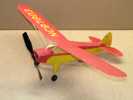
The finished model will have crisp markings with nice
color depth. |
In summary, it is possible to develop some very colorful and detailed models
by using a computer driven ink jet printer and some iron-on transfer paper to
create colored or fine line parts from balsa sheets. If your printer can print
on a letter size sheet of paper it can be used for this process. If you have questions or thoughts on the process please feel free to
contact me at bradleyp@ix.netcom.com
Home