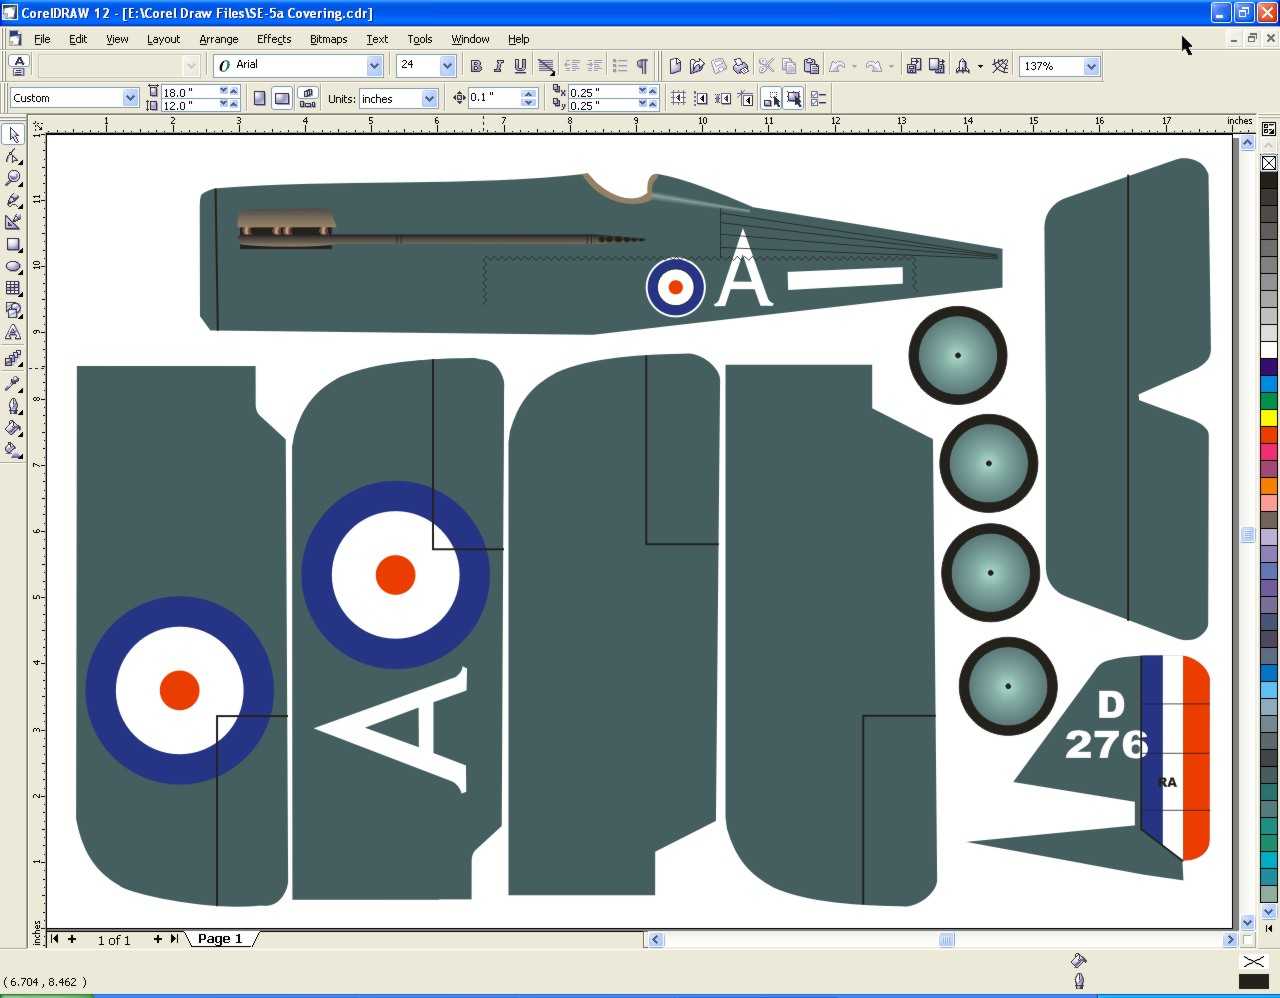
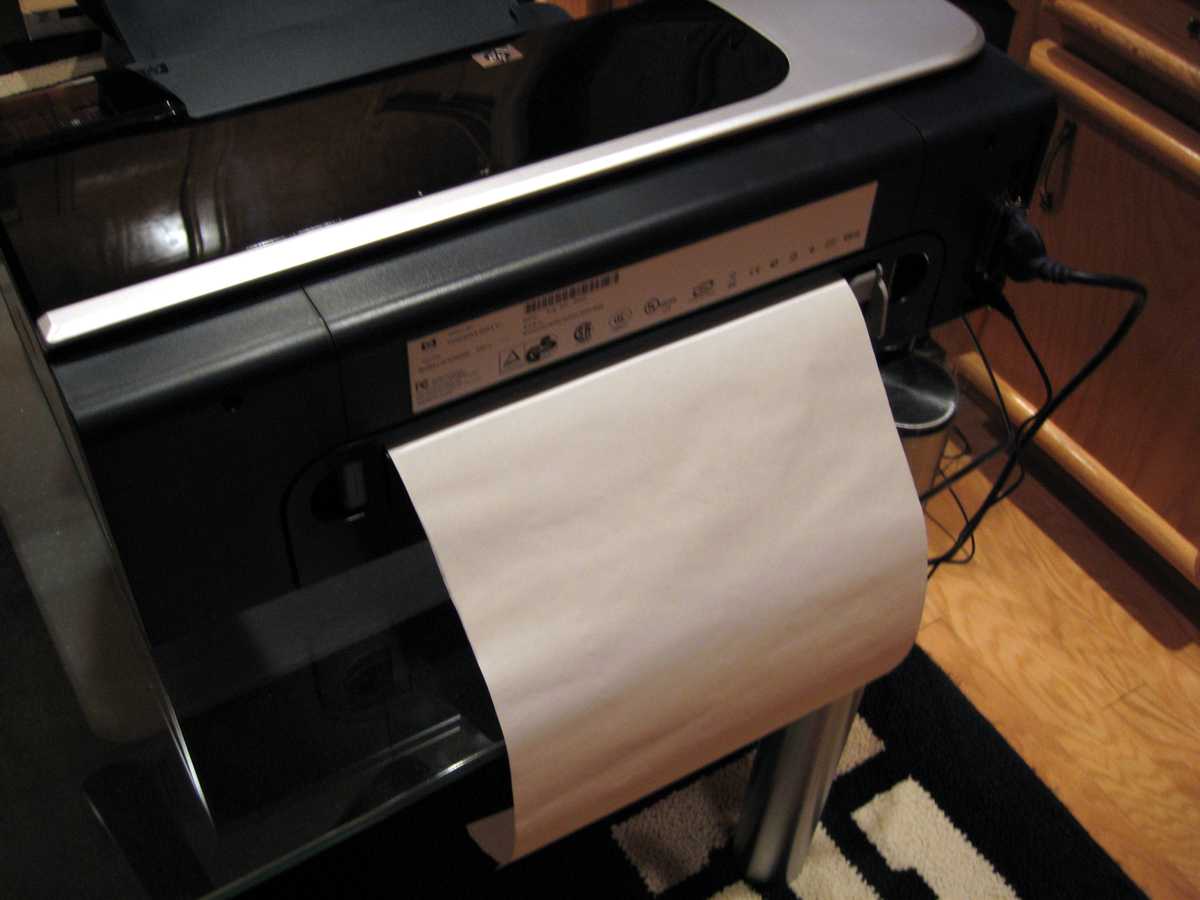
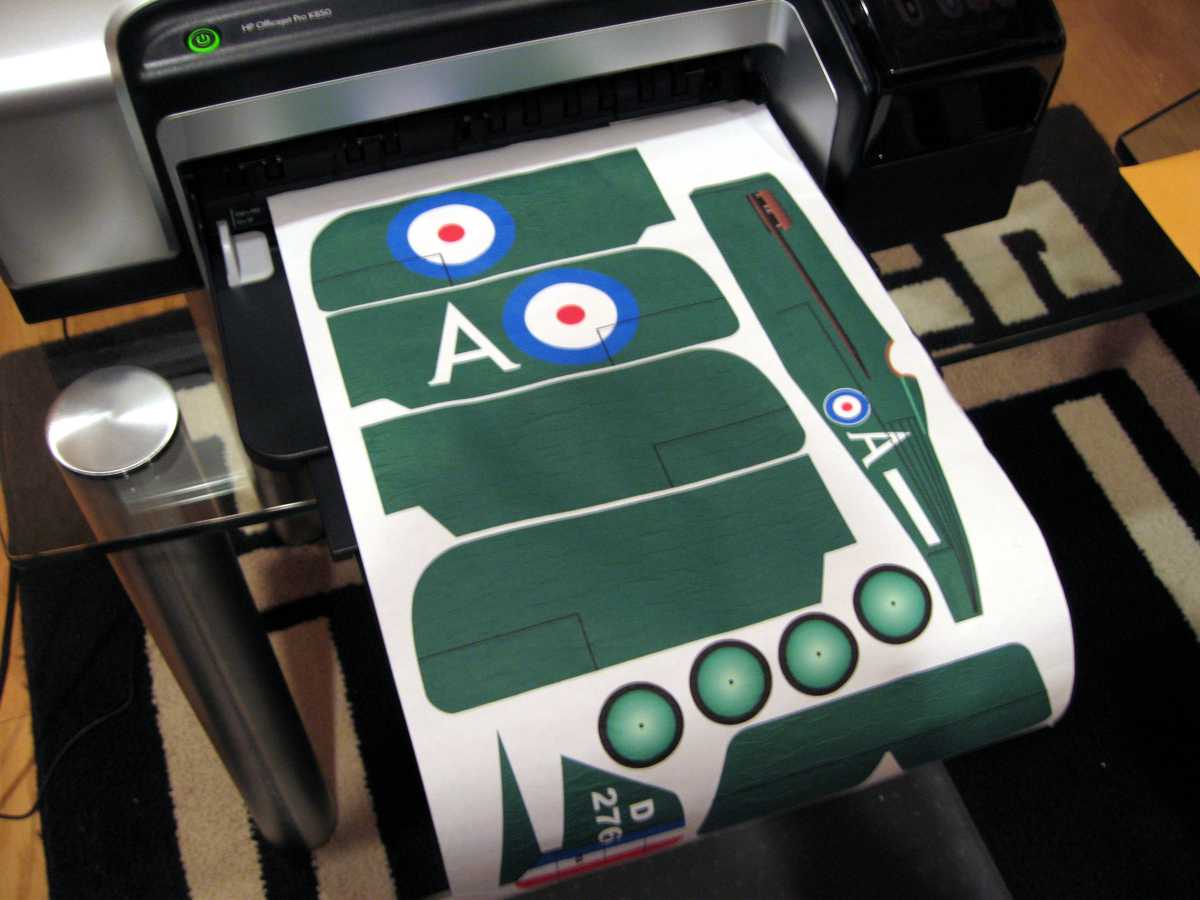
What do you need? There are two basic requirements for printing on tissue paper. First is an ink jet printer. We am not aware of any on the market today that will not work for this application. Some printers feature a straight through paper path. These work especially well for printing on tissue, but that feature is not required. The second thing you need is some graphics software to develop your artwork. Just about any program that will let you draw will work fine. It is best to use software that uses vector graphics so they can be scaled without any loss of resolution. Programs that draw using bit maps can also be used very effectively.
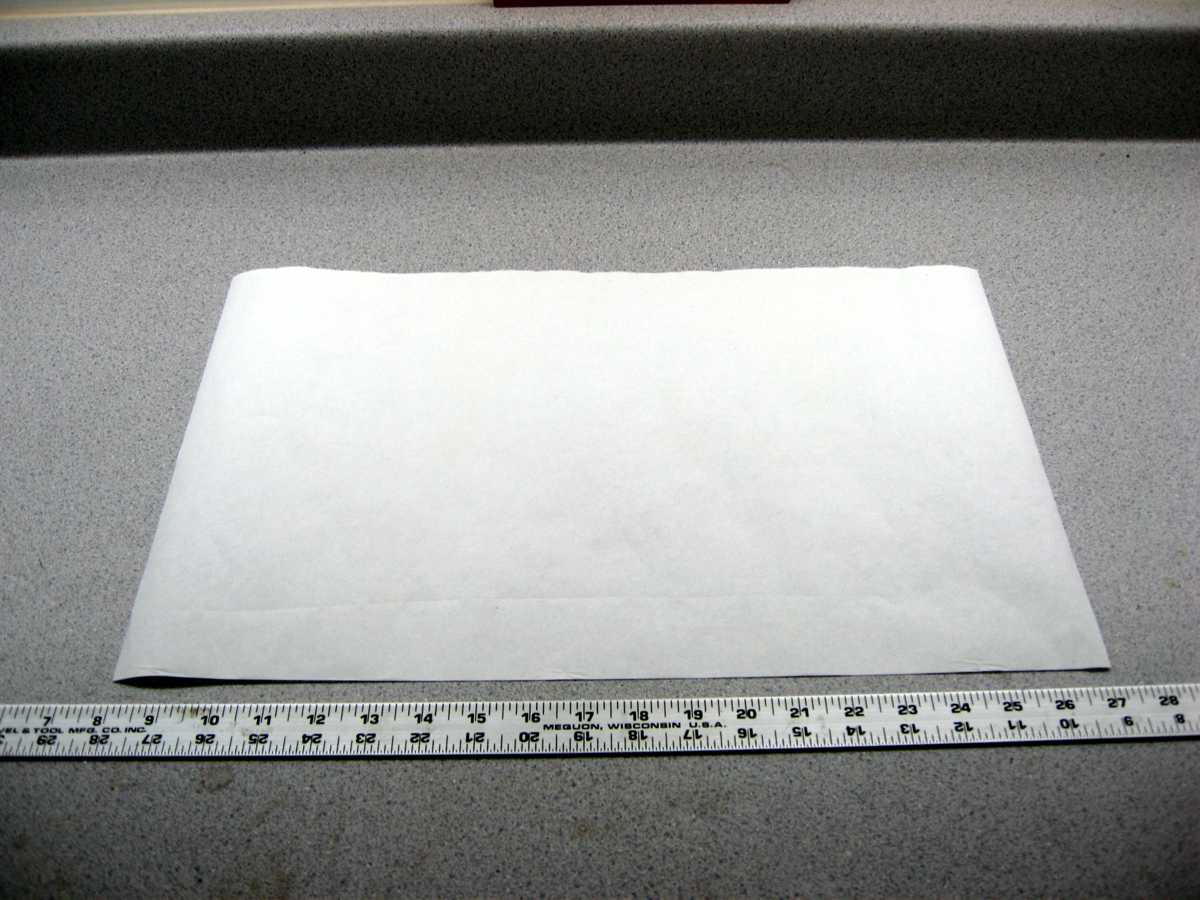
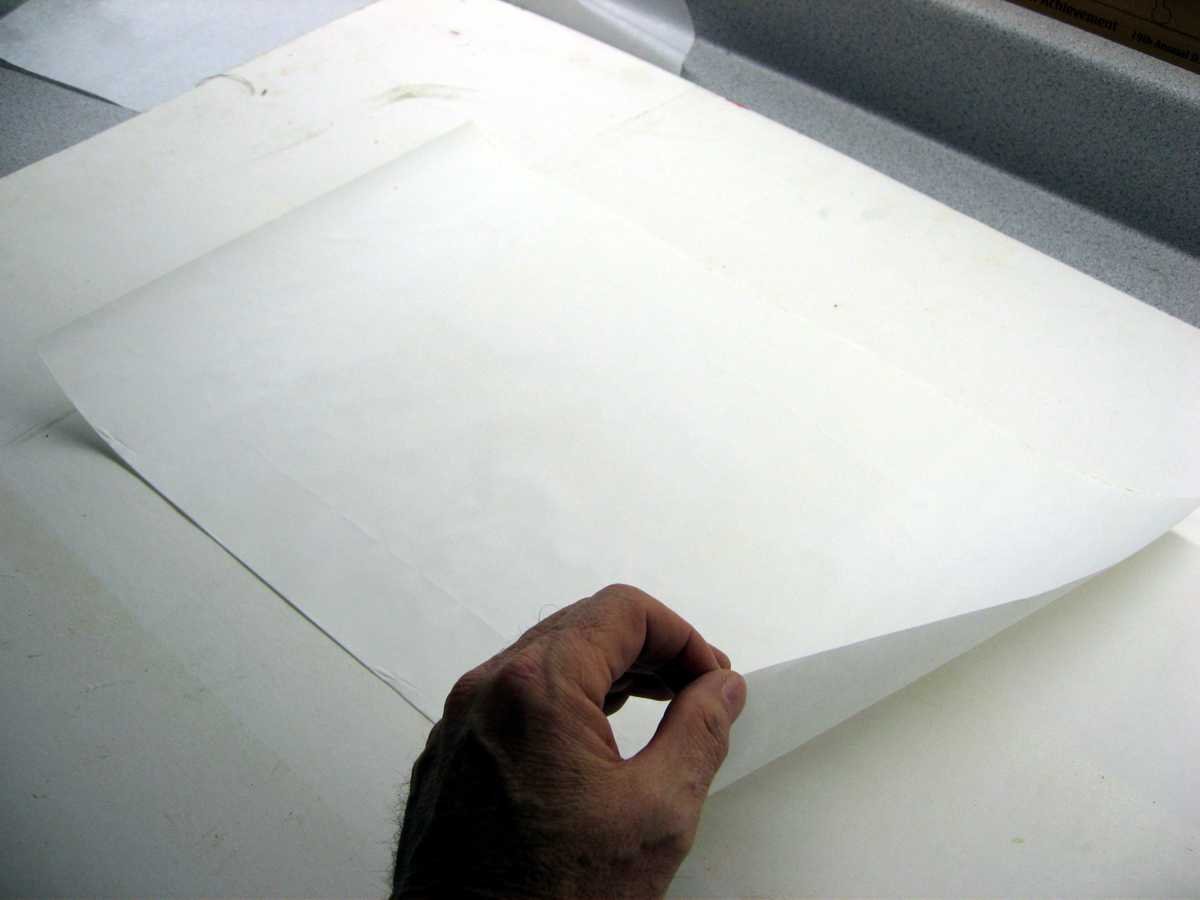
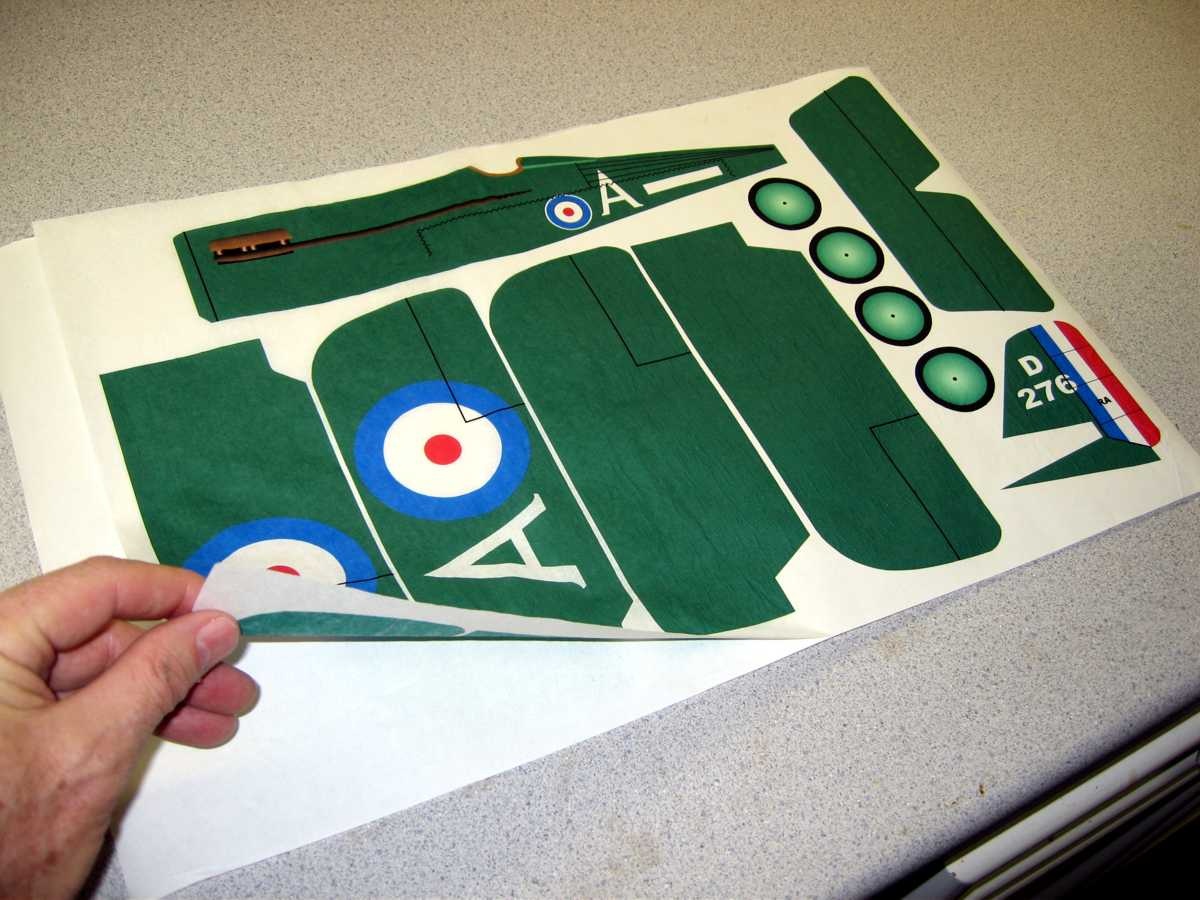
In addition to an inkjet printer and supporting graphics software, you will also need a can of spray adhesive. Our recommendation is 3M Spray Mount, or 3M Photo Mount. Along with the spray adhesive, you will need a sheet of printer paper to serve as a backing sheet. This piece of paper will need to be the same size as the piece of tissue you will be using for printing.
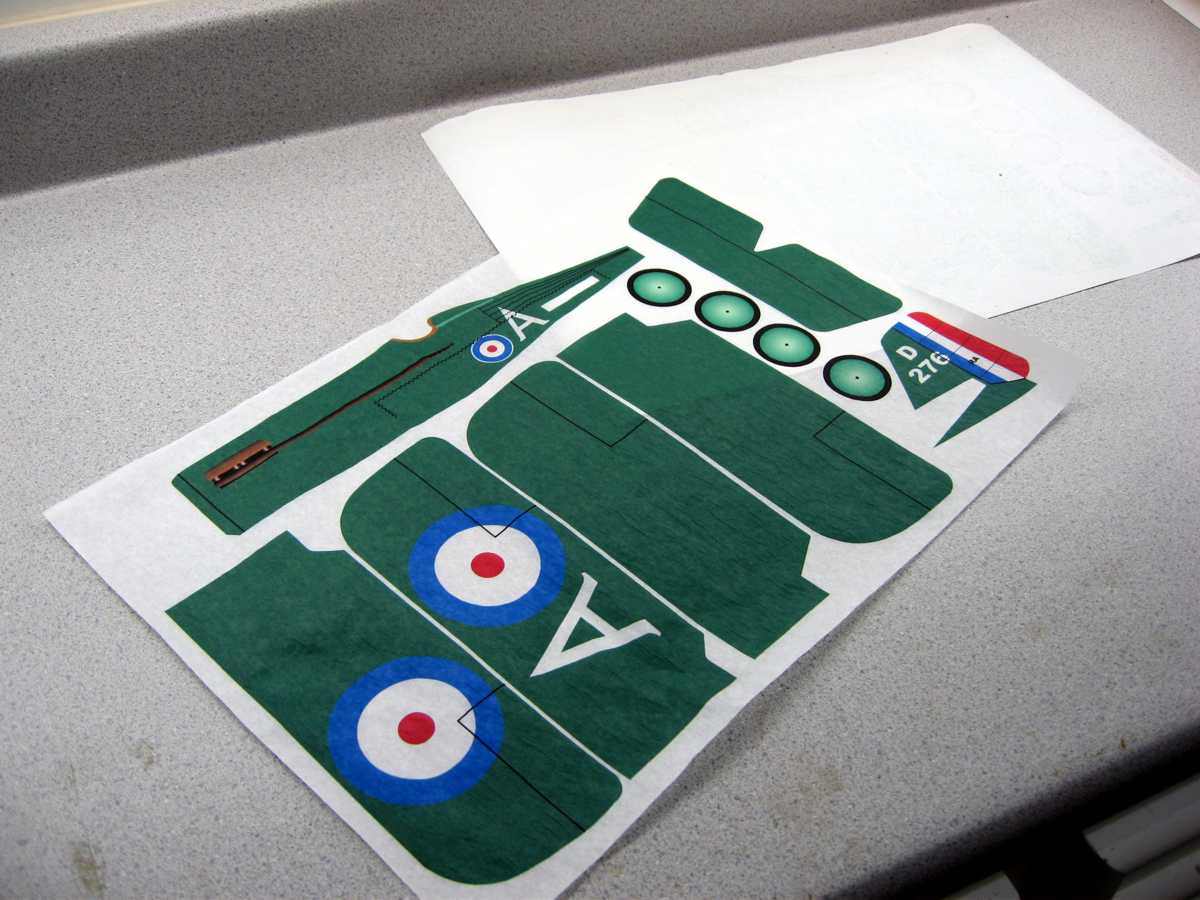
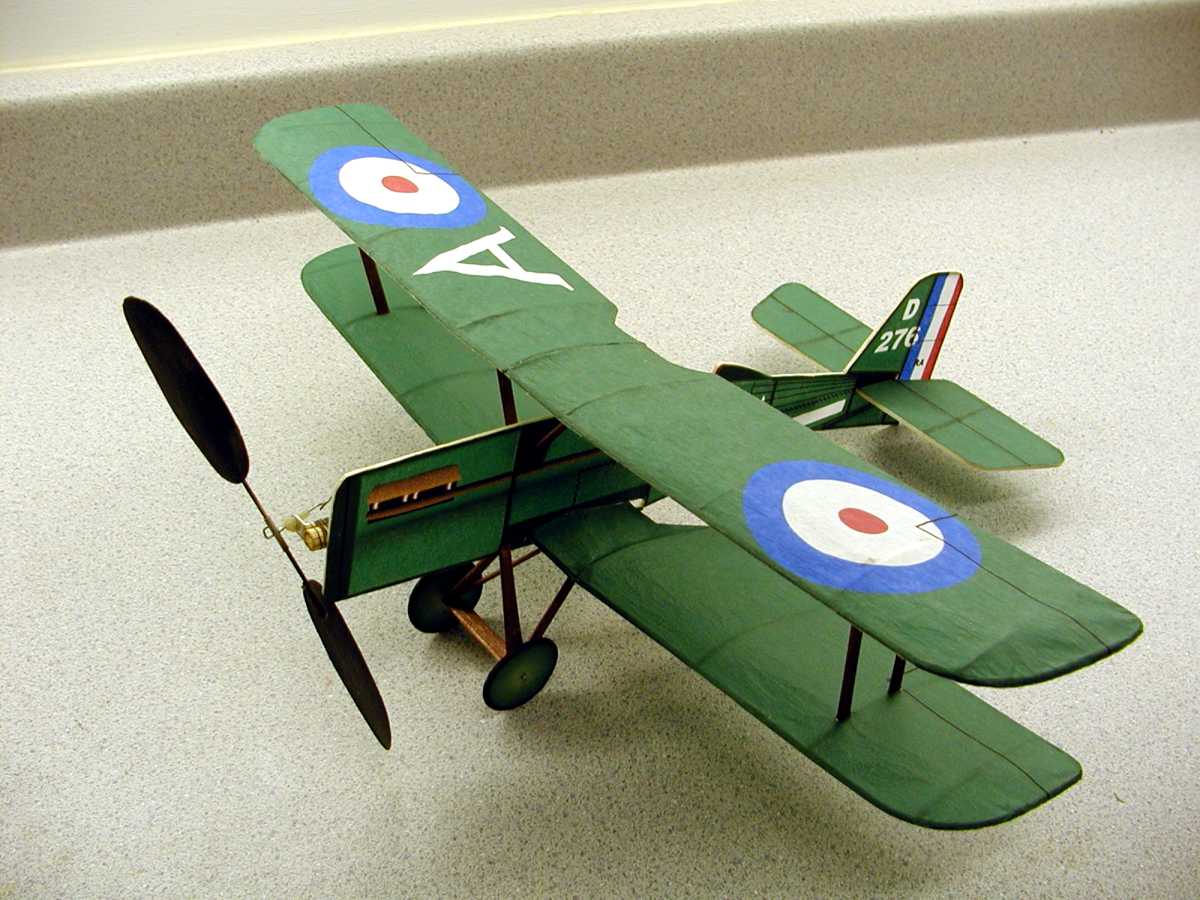
The process. The photos that follow will take you through the steps. Basically, the process is create your artwork, prepare the tissue for printing, and then print the tissue sheet. Here are the more detailed steps. Click on each photo to see a larger version and the full photo description.
In summary, it is possible to develop some very colorful and detailed models by using a computer driven ink jet printer to print color and markings on sheets of light weight tissue paper. With a little imagination, and some white tissue paper sheets you can create some very eye catching models.... with no weight penalty for the color and markings. If you have questions or thoughts on the process please feel free to contact us.
